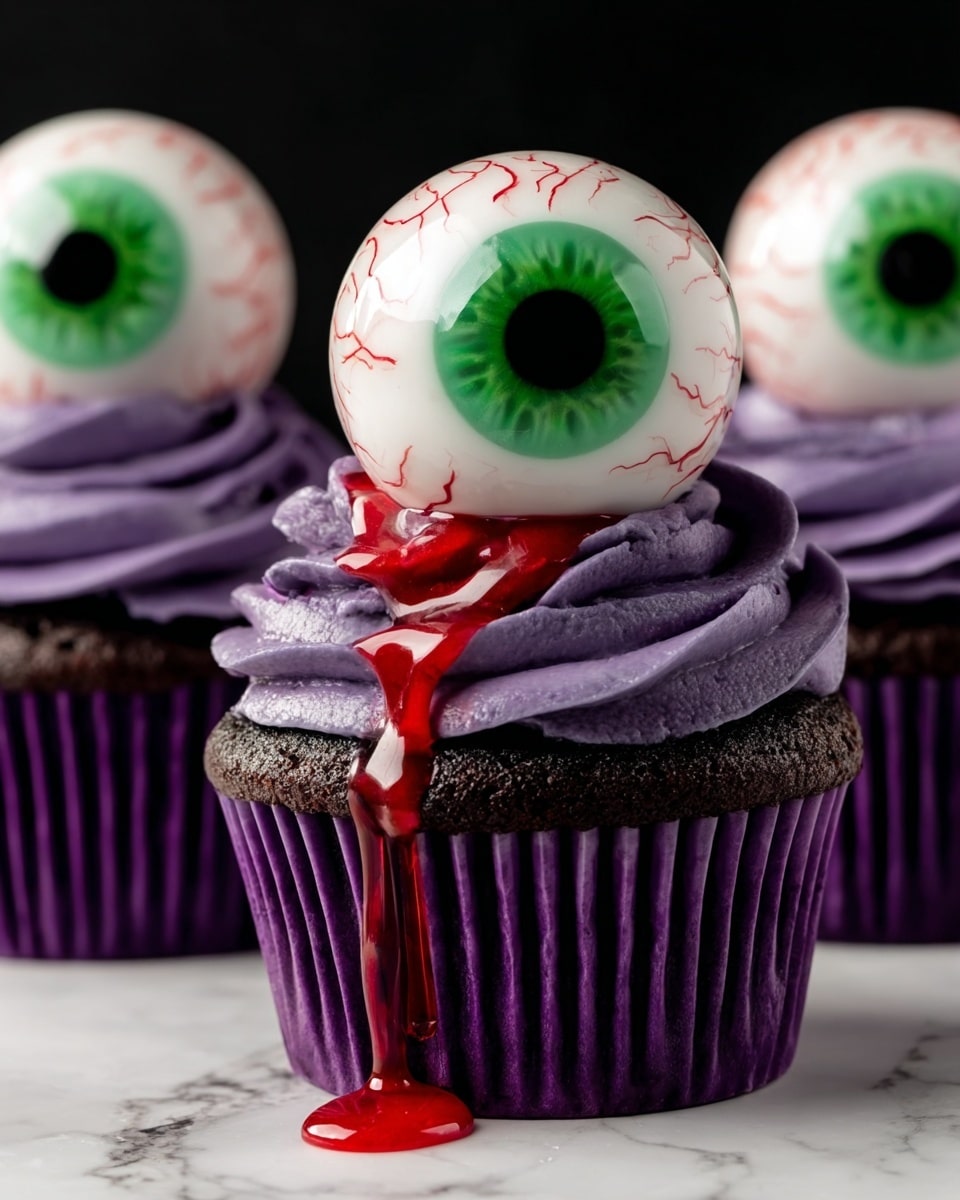
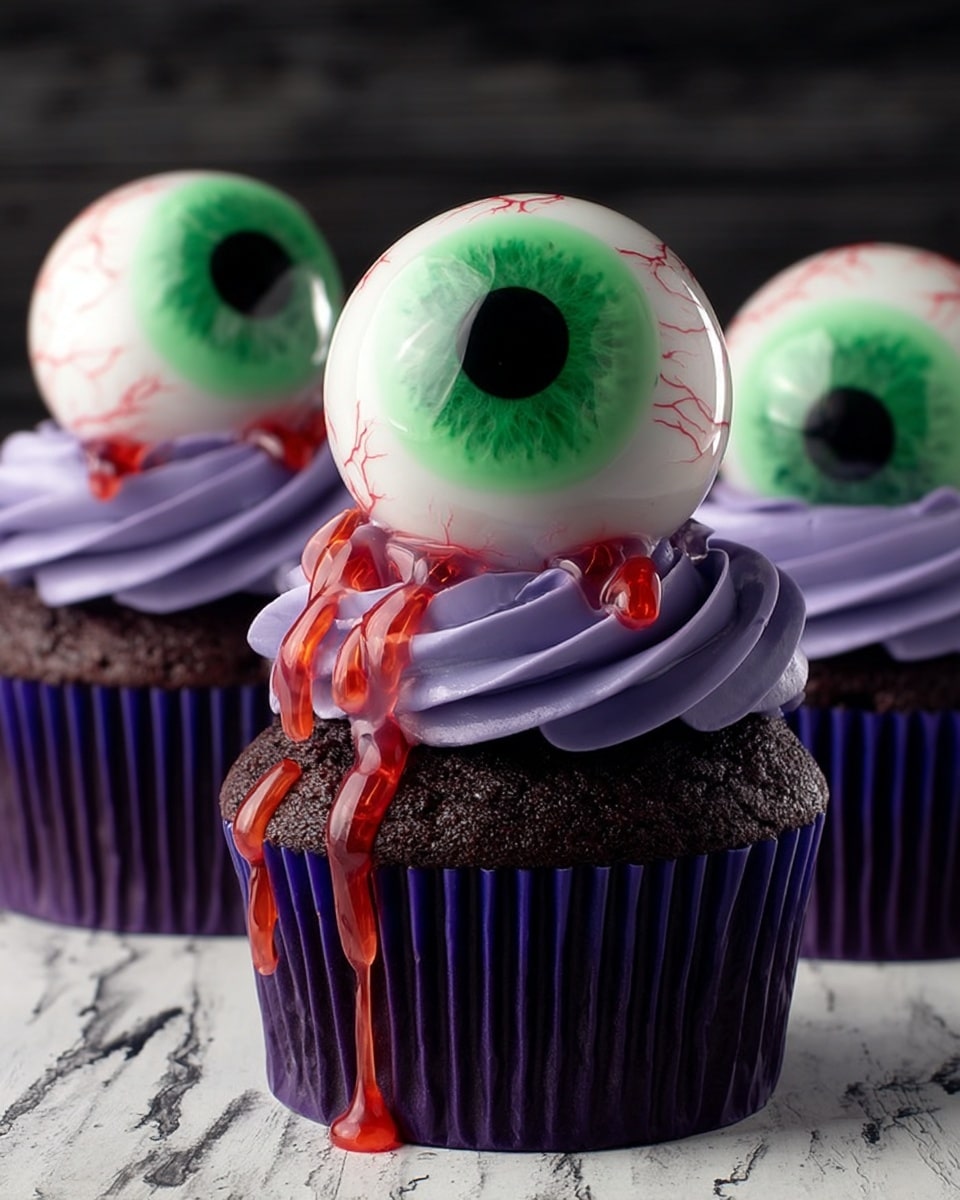
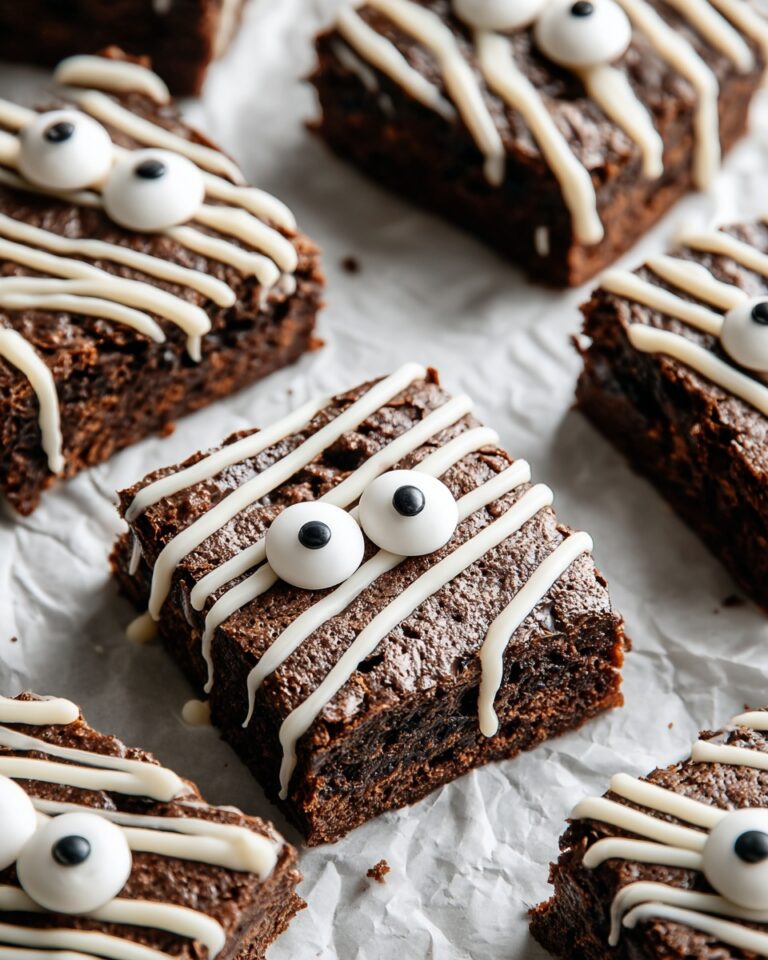
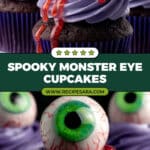
If you’re looking for a Halloween treat that’s equal parts creepy and delicious, you’ve got to try this Monster Eye Cupcakes with Edible Goo: Spooky Halloween Treats Recipe. I absolutely love how these cupcakes surprise everyone—not just with their spooky monster eye on top but also with a gooey, edible center that oozes out just right when you bite in. Whether you’re baking for a party or just to delight your family with a Halloween twist, this recipe is fan-freaking-tastic and surprisingly easy to pull off.
Why You’ll Love This Recipe
- Deliciously Spooky: These cupcakes combine fun Halloween vibes with tasty moist cake and gooey surprise centers.
- Beginner-Friendly: You don’t need to be a pro baker—I’ve broken down every step to help you succeed.
- Customizable Fun: You can tweak colors, flavor, and decorations to make your own monster cupcake squad.
- Perfect for Parties: These cupcakes are guaranteed to be a Halloween hit with kids and adults alike.
Ingredients You’ll Need
The magic of these Monster Eye Cupcakes with Edible Goo lies in combining simple pantry staples with a few fun extras for that spooky effect. You’ll want softly whipped butter for fluffy cupcakes and silky frosting, some good quality fruit jelly or syrup for the oozing edible goo, and ready-made monster eyes to save yourself time—believe me, they make the difference!
- All-purpose flour: A staple that gives structure to your cupcakes, making them tender yet sturdy enough to hold the filling.
- Granulated sugar: Sweetness and a bit of tenderness, essential for a moist crumb.
- Unsalted butter: Softened is key for creaming, but plant-based butter works great if you want a dairy-free spin.
- Eggs: They add richness and help with rising.
- Buttermilk: If you don’t have it, no worries—mix milk and vinegar for a homemade substitute that keeps cupcakes delightfully moist.
- Cocoa powder (optional): Want chocolate monster eyes? Toss it in the batter!
- Vanilla extract: Brings out all the flavors and adds a warm aroma.
- Baking powder and salt: Essential for that perfect rise and flavor balance.
- Powdered sugar: For the frosting’s smooth sweetness.
- Milk or heavy cream: To reach that perfect frosting fluffiness.
- Food coloring: I love gel colors for their vivid results—pick creepy greens, purples, or blacks for maximum monster effect.
- Fruit jelly or syrup: Raspberry for bloody red goo—lime or lemon if you want green or yellow scary slime. Cornstarch thickens it up to ooze just right.
- Ready-made monster eyes: These little candy eyes are the crown jewel and pretty easy to find at specialty stores.
- Red edible gel or syrup: For the “blood” drips that complete the creepy look.
- Optional spooky extras: Candy worms, edible glitter, or Halloween sprinkles to amp up the fun.
Variations
One of the things I adore about the Monster Eye Cupcakes with Edible Goo: Spooky Halloween Treats Recipe is how easy it is to make your own. Whether you want it dairy-free, chocolate-packed, or straight-up ooze overload, you can totally do that with a few tweaks.
- Dairy-Free Version: I switched to plant-based butter once when a friend dropped in allergic to dairy—it still came out perfectly moist and super tasty.
- Chocolate Goo: Try using chocolate syrup and dark cocoa for an irresistibly rich “slime” that takes the creep factor to a new delicious level.
- Spicy Pumpkin: Around fall, I swap regular flour for spiced cupcake mix and add a hint of cinnamon to the goo for a pumpkin patch twist.
- Extra Goo Filling: If you love the surprise filling like I do, double the edible goo recipe and fill each cupcake generously—but watch out for drips!
How to Make Monster Eye Cupcakes with Edible Goo: Spooky Halloween Treats Recipe
Step 1: Preheat and Prepare Your Base
Start by heating your oven to 350°F (175°C) and lining a 12-cup muffin tin with cupcake liners. This simple setup step makes all the difference—trust me, I once tried free-form cupcakes and ended up with a gooey mess all over my pan! Lining the cups keeps cleanup easy and cupcakes perfectly shaped.
Step 2: Cream Butter and Sugar Until Fluffy
In a large bowl, soften your butter until it’s room temperature, then beat it with sugar until the mix is light and fluffy. When I first tried this recipe, I underestimated how long to beat the mixture and ended up with denser cupcakes, so don’t rush this part—aim for a pale, airy texture. Then add eggs one at a time, beating each in well, and stir in vanilla extract.
Step 3: Combine Dry Ingredients and Alternate With Buttermilk
In another bowl, whisk together flour, baking powder, salt, and cocoa powder (if you want chocolate cupcakes). Gradually add this dry mix to the butter mixture, alternating with the buttermilk. I always make sure to stop mixing as soon as everything is combined; that helps keep cupcakes tender. Over-mixing, especially with flour, can quickly lead to tougher cupcakes—something I learned the hard way!
Step 4: Bake Your Cupcakes to Perfection
Use a cookie scoop to evenly portion batter into each liner, filling about 2/3 full to give room for rising. Bake 18-20 minutes or until a toothpick comes out clean. Let them cool in the pan for 5 minutes before transferring to a wire rack—this prevents them from breaking apart, especially when you hollow out the centers later.
Step 5: Prepare Your Edible Goo Filling
To get that perfectly spooky goo, heat your fruit jelly or syrup gently in a small saucepan, stirring in cornstarch to thicken if needed. I keep stirring to avoid lumps—otherwise, the goo looks more like a gloopy mess than something you want oozing from a cupcake! Add more food coloring if you want the slime super bright. Let it cool just enough to handle but don’t let it set solid.
Step 6: Hollow Out Cupcake Centers and Fill
Once the cupcakes are fully cool, carefully carve out a 1-inch deep hole in the center with a small knife or a cupcake corer. Fill each cavity with your edible goo and gently press the removed top back on to seal things up. Don’t overfill or the goo will squish out; I promise less is more here for that perfect creepy effect when you take a bite.
Step 7: Whip Up Your Spooky Colored Frosting
Beat softened butter until creamy, then add sifted powdered sugar one cup at a time, mixing well after each addition. Stir in vanilla and 2-3 tablespoons of milk or cream to get a smooth, fluffy texture. Finally, add your gel food coloring until you reach your desired monster shade—deep purple, eerie green, or classic black all work well. Gel coloring is my secret for vibrant, streak-free frosting.
Step 8: Assemble, Decorate, and Add Those Creepy Details
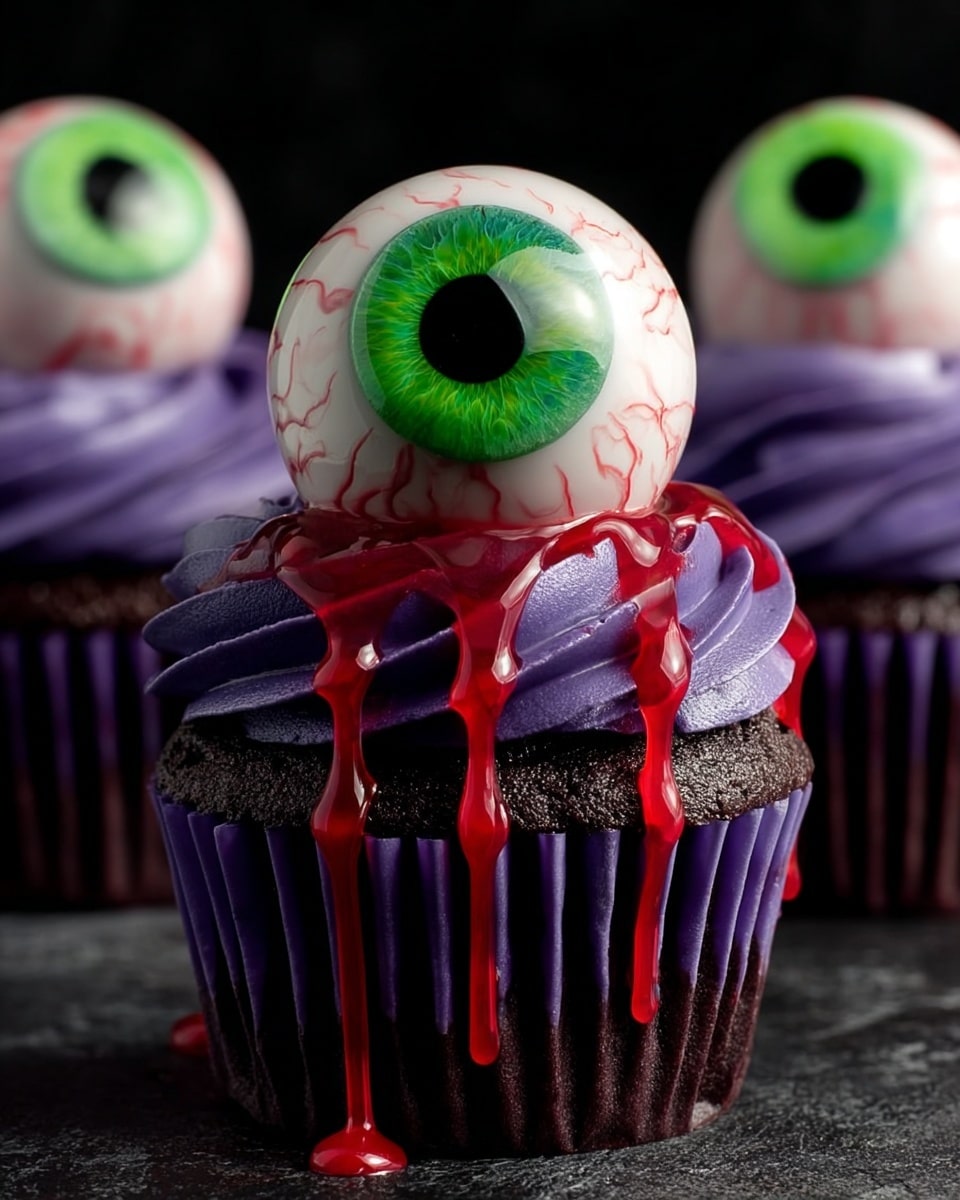
Frost cupcakes with a smooth, slightly domed swirl. Place a monster eye right in the center, gently pressing it into the frosting to keep it secure. I love mixing different colored eyes to give each cupcake its own personality. Use red edible gel or syrup to create “blood” dripping around the eye and down the sides—just a little goes a long way. Finally, scatter candy worms or edible glitter for that extra ghoulish pop.
Pro Tips for Making Monster Eye Cupcakes with Edible Goo: Spooky Halloween Treats Recipe
- Softened Butter is Key: Butter that’s too cold won’t cream properly, so set it out ahead to get the fluffiest crumb and frosting.
- Don’t Overmix Batter: Mixing just until combined keeps cupcakes tender and light, I learned this after some dense batches.
- Use Gel Food Coloring: It’s less watery and more vibrant, giving your monster eyes that eye-popping color without ruining cupcake texture.
- Careful with the Goo Filling: Let the goo cool before filling and don’t overfill holes to avoid messy, uncontrollable oozing.
How to Serve Monster Eye Cupcakes with Edible Goo: Spooky Halloween Treats Recipe
Garnishes
I usually keep it simple with ready-made monster eyes and red edible gel drip—you really don’t need more to get the creepy effect. But if I’m feeling extra festive, I add gummy candy worms crawling around the eye or some edible glitter for that mysterious slime shimmer. Those little touches make the cupcakes look like they jumped straight out of a haunted laboratory to your party table.
Side Dishes
Since these cupcakes are quite rich and sweet, I pair them with light, refreshing sides like a crisp apple and celery salad or some spiced pumpkin soup to balance the flavors and keep the meal fun. They’re also perfect on their own for a Halloween dessert table when you want to keep things simple.
Creative Ways to Present
For Halloween parties, I love setting the cupcakes on a tray filled with faux spider webs and placing plastic spiders around for a little creep factor. Another fun idea is to serve them on a black cake stand with dry ice underneath to create spooky mist. If you have little helpers, let kids decorate their own cupcakes with eyes and goo—makes for a fun activity and some wildly unique monsters!
Make Ahead and Storage
Storing Leftovers
Monster Eye Cupcakes store best in an airtight container in the fridge to keep the frosting firm and the goo fresh. I usually cover them well, and they’ll keep nicely for up to 3 days. Just bring them to room temp before serving so the goo softens a bit for the best eating experience.
Freezing
If you want to freeze, it’s best to do so before frosting and adding the goo filling—assembling and decorating afterward ensures the best texture. Freeze the plain cupcakes in a sealed bag or container for up to 2 months, then thaw completely before filling and frosting.
Reheating
Reheating cupcakes? Gently warm them in the microwave for 10-15 seconds to take the chill off, but don’t heat too much or the frosting will melt and the goo might become runny. I prefer to keep them mostly cool and enjoy the contrasting textures—the cool frosting and slightly oozing goo inside.
FAQs
-
Can I make Monster Eye Cupcakes with Edible Goo ahead of time?
Absolutely! You can bake the cupcakes and prepare the goo a day in advance. Just wait to fill and frost them until the day you plan to serve to keep everything fresh and the goo from leaking.
-
What can I use if I can’t find ready-made monster eyes?
If monster eyes aren’t available, you can create them easily with white and black fondant or icing dots. Simply roll small white balls for the eyeballs and add black dots for pupils; they’ll still look spooky and cute.
-
How do I prevent the edible goo from leaking out?
Be careful not to overfill the hollowed cupcake centers, and make sure the goo is cooled and thickened enough before filling. Press the removed cupcake tops gently but firmly to seal the filling inside.
-
Can I use other flavors for the goo filling?
Definitely! Feel free to experiment with your favorite fruit syrups or jams. I’ve loved raspberry for red blood-like goo, but lemon or lime gives a nice eerie green slime effect too.
Final Thoughts
I can honestly say that these Monster Eye Cupcakes with Edible Goo: Spooky Halloween Treats Recipe have become a Halloween tradition in my home. Every year, friends and family ask me to bake them again because they’re just too fun and tasty to resist. If you want a festive treat that’s more than just cute decor, something with a thrilling surprise inside, this recipe is your new best friend. Bake a batch, get a little messy with the goo, and enjoy watching everyone’s faces when they discover the oozy monster inside. You totally got this!
Print
Monster Eye Cupcakes with Edible Goo: Spooky Halloween Treats Recipe
- Prep Time: 40 minutes
- Cook Time: 20 minutes
- Total Time: 1 hour
- Yield: 12 servings
- Category: Dessert
- Method: Baking
- Cuisine: American
Description
Create spooky and delicious Monster Eye Cupcakes filled with edible goo, perfect for Halloween celebrations. These moist cupcakes are baked, hollowed out for a gooey fruit jelly center, topped with vibrant colored frosting, and decorated with edible monster eyes and creepy red gel for a fun and festive treat.
Ingredients
For the Cupcakes:
- 1 1/2 cups all-purpose flour
- 1 cup granulated sugar
- 1/2 cup unsalted butter, softened (substitute plant-based butter for dairy-free)
- 2 large eggs
- 1/2 cup buttermilk (or 1/2 cup milk mixed with 1/2 tsp vinegar)
- 2 tbsp cocoa powder (optional, for chocolate cupcakes)
- 1 tsp vanilla extract
- 1 1/2 tsp baking powder
- 1/4 tsp salt
For the Frosting:
- 1 cup unsalted butter, softened
- 3-4 cups powdered sugar, sifted
- 2-3 tbsp milk or heavy cream
- 1 tsp vanilla extract
- Black, deep purple, or green food coloring (gel preferred)
For the Edible Goo Filling:
- 1/2 cup fruit jelly or syrup (raspberry, lime, or lemon)
- 1-2 tbsp cornstarch (optional, for thickening)
- Food coloring (optional, to intensify color)
For the Decoration:
- 12 ready-made monster eyes
- Red edible gel or syrup (for blood drips)
- Optional: Candy worms, edible glitter, or other spooky decorations
Instructions
- Preheat and Prepare: Preheat oven to 350°F (175°C) and line a 12-cup muffin tin with cupcake liners.
- Cream Butter and Sugar: In a large bowl, cream softened butter and sugar until light and fluffy. Add eggs one at a time, beating well after each. Stir in vanilla extract.
- Mix Dry Ingredients: In a separate bowl, whisk flour, baking powder, cocoa powder (if using), and salt.
- Combine Wet and Dry: Gradually add dry ingredients to wet mixture alternating with buttermilk until just combined.
- Bake Cupcakes: Spoon batter into muffin cups about 2/3 full. Bake 18-20 minutes or until a toothpick inserted in center comes out clean. Cool 5 minutes in pan then transfer to wire rack.
- Prepare Edible Goo Filling: Gently heat fruit jelly or syrup in a small saucepan. Stir in cornstarch if using, until gooey. Add food coloring if desired and let cool slightly.
- Hollow and Fill Cupcakes: Using a knife or corer, remove 1-inch center from cooled cupcakes. Fill cavity with edible goo, then replace the top part to seal.
- Make Frosting: Beat softened butter until creamy. Gradually add powdered sugar, then vanilla and 2 tbsp milk or cream. Beat until smooth and fluffy. Add food coloring until desired shade.
- Assemble and Decorate: Frost cupcakes with colored frosting creating a smooth dome. Press one monster eye on top of each.
- Add Finishing Touches: Use red edible gel or syrup to create blood drips around monster eye and cupcake sides. Optionally add candy worms, edible glitter, or other decorations.
Notes
- Substitute plant-based butter to make cupcakes dairy-free.
- If no buttermilk, use milk with vinegar to mimic the tang.
- Use gel food coloring for more vibrant frosting colors.
- Be careful not to overfill cupcake centers to prevent goo spill.
- Use a cookie scoop for evenly sized cupcakes.
- Stir edible goo continuously while heating to avoid lumps.
- Less is more with blood drips to keep decoration spooky but neat.
Nutrition
- Serving Size: 1 cupcake
- Calories: 350 kcal
- Sugar: 28 g
- Sodium: 150 mg
- Fat: 18 g
- Saturated Fat: 10 g
- Unsaturated Fat: 7 g
- Trans Fat: 0 g
- Carbohydrates: 42 g
- Fiber: 1 g
- Protein: 3 g
- Cholesterol: 55 mg

