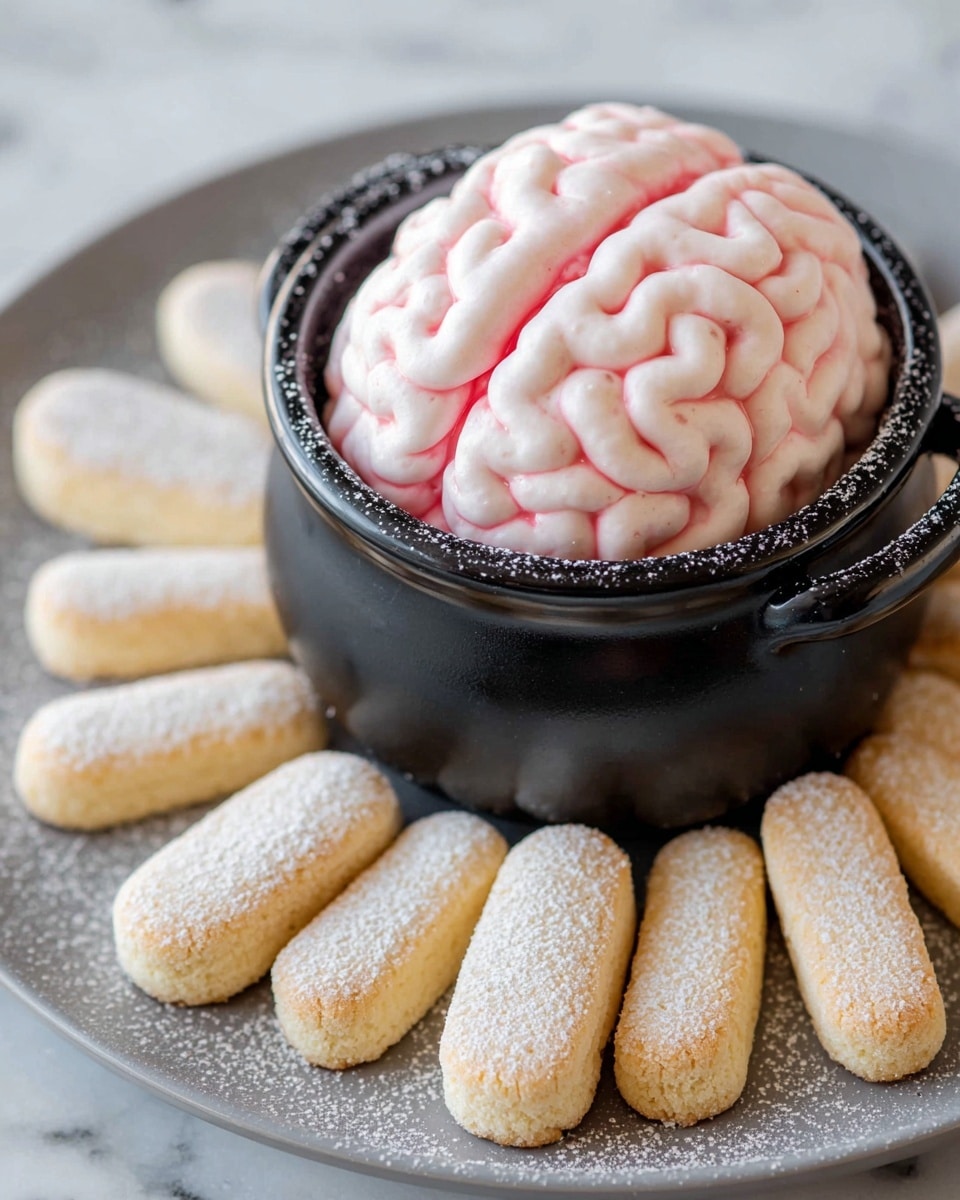
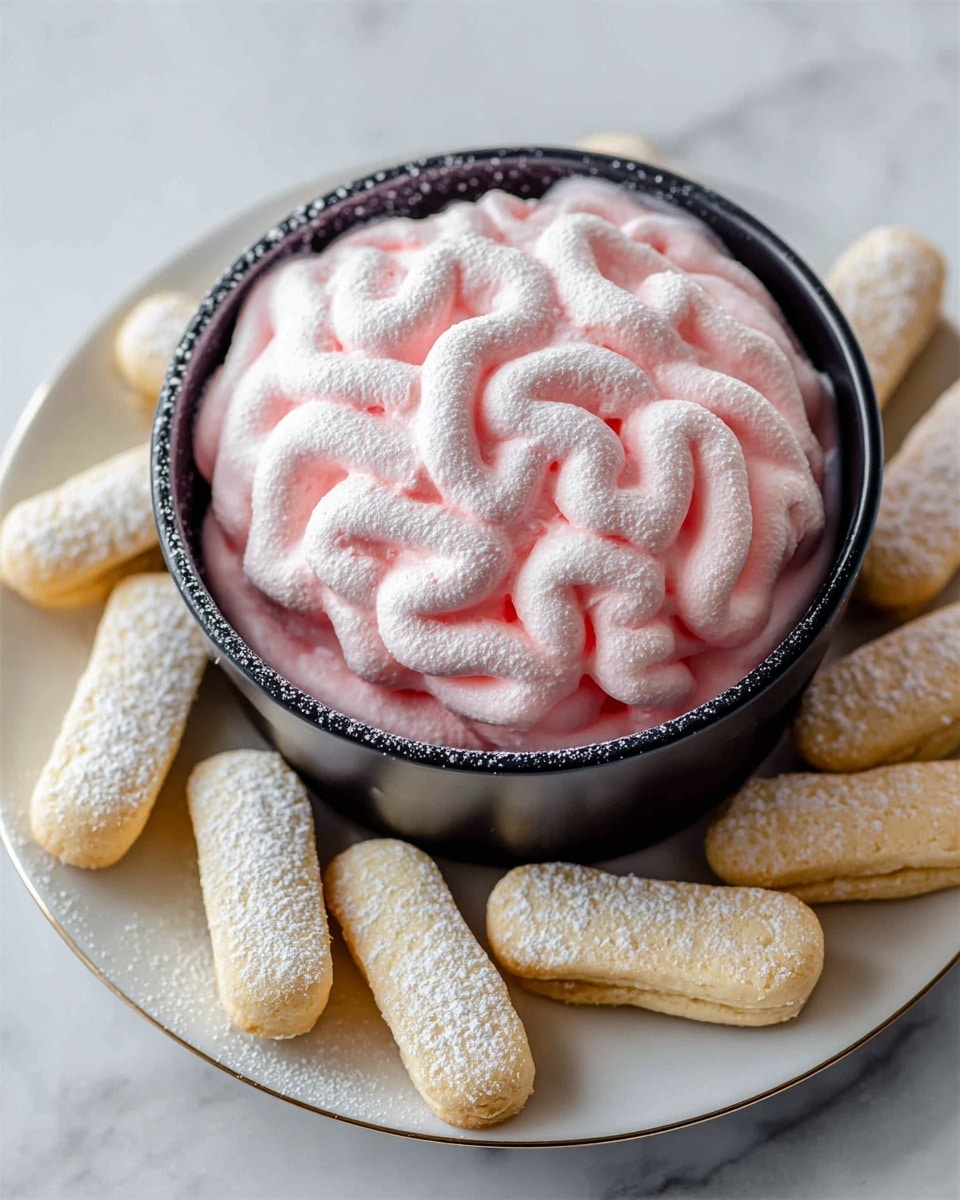
If you’re looking to wow your guests with something spooky, delicious, and surprisingly easy to make, then you’re going to love this Red Velvet Brain Dip with Cream Cheese Frosting Recipe. It’s one of those recipes that looks like you spent hours crafting something Halloween-themed, but really, it comes together quickly—and the best part? It tastes absolutely amazing! When I first tried this, I was blown away by the creamy, velvety texture paired with that rich cream cheese frosting brain on top; it’s a total showstopper that your friends and family won’t stop talking about.
Why You’ll Love This Recipe
- Perfect Halloween Centerpiece: It looks terrifyingly fun but tastes like a treat everyone will adore.
- Super Creamy and Decadent: Thanks to cream cheese and a touch of butter, it’s irresistible in every bite.
- Easy to Make: No complicated techniques—just mix, assemble, and impress!
- Versatile for Dipping: Pairs perfectly with ladyfinger cookies, crackers, or fruit for dipping.
Ingredients You’ll Need
This recipe blends classic red velvet flavors with luscious cream cheese goodness to create something truly unique. I like to grab high-quality cream cheese and fresh butter because you’ll notice the difference in creaminess. Also, for the red coloring, gel food coloring works best—it’s vibrant and won’t water down your dip.
- Unsalted butter: Make sure it’s softened to blend smoothly with the cream cheese.
- Cream cheese: Use softened cream cheese for that silkiness both in the dip and frosting.
- Vanilla extract: Adds a warm flavor note that balances the sweetness.
- Powdered sugar: Smooth and sweet, perfect for the dip texture.
- Red food coloring (gel): For that perfect creepy red color without thinning the dip.
- Dry red velvet cake mix: The heart of the dip, giving it that signature flavor and color.
- Light brown sugar: Just a touch to deepen the sweetness profile.
- Ladyfinger cookies: Ideal for dipping due to their firm yet delicate texture.
Variations
I’ve found this Red Velvet Brain Dip with Cream Cheese Frosting Recipe is a great base to play around with. Depending on the occasion or your flavor preferences, you can tweak it a bit to make it your own. Feel free to experiment—you might discover your new favorite spin!
- Make it spicier: Adding a pinch of cinnamon or even cayenne powder can give a subtle spicy kick that surprises your guests.
- Dairy-free option: Try swapping regular cream cheese and butter with dairy-free alternatives for a vegan-friendly version.
- Chocolate twist: Mixing in mini chocolate chips or a bit of cocoa powder in the dip base elevates the richness.
- Fruit garnish: Adding fresh raspberries or strawberries on top before serving adds freshness and balances the sweetness.
How to Make Red Velvet Brain Dip with Cream Cheese Frosting Recipe
Step 1: Prepare the Red Velvet Cake Dip Base
Start by beating together the softened cream cheese and salted butter until it’s creamy and smooth. Then, add in the dry red velvet cake mix along with powdered sugar, brown sugar, vanilla extract, and a few drops of red gel food coloring. Mix everything on medium speed until it becomes a thick, luscious dip. I learned that using a stand mixer or hand mixer makes this much easier and results in a smoother texture, so I highly recommend it!
Step 2: Make the Cream Cheese Frosting “Brain” Topping
Next up, whisk together softened cream cheese, unsalted butter, vanilla extract, powdered sugar, and red gel food coloring until it forms a creamy, pipeable frosting. This frosting will become our brain wrinkles, so you want it smooth but firm enough to hold its shape. I discovered that if the frosting feels too soft, pop it in the fridge for 10 minutes before piping—it makes a world of difference!
Step 3: Assemble and Pipe Your Brain
Spread your red velvet dip base thickly into a round serving dish to mimic the “brain base.” Then, scoop the cream cheese frosting into a piping bag fitted with a small round tip. Pipe long, swirling lines side-by-side, creating the brain’s characteristic wrinkled folds. Don’t worry if it’s not perfect—the more imperfect, the more authentic it looks! I usually pipe from one side to the other and then go back to fill smaller gaps, creating a cool 3D effect.
Step 4: Chill and Serve
Pop the entire dip in the fridge for at least 20 minutes before serving. This firming up helps both layers meld nicely and keeps everything in place when guests dig in. When ready, serve with ladyfinger cookies or any of your favorite dippers. My family goes crazy for the ladyfingers—they’re just the right crunch and soak up the dip without falling apart.
Pro Tips for Making Red Velvet Brain Dip with Cream Cheese Frosting Recipe
- Use Gel Food Coloring: Gel colors give that vibrant red without thinning your dip or frosting.
- Chill Between Steps: Pop the frosting in the fridge if it’s too soft to pipe—this makes brain folds neat and defined.
- Piping Tip: Don’t rush the piping; slow, deliberate swirls create that authentic brain texture.
- Be Patient: Allow the dip to chill well to avoid the layers mixing and keep presentation perfect.
How to Serve Red Velvet Brain Dip with Cream Cheese Frosting Recipe
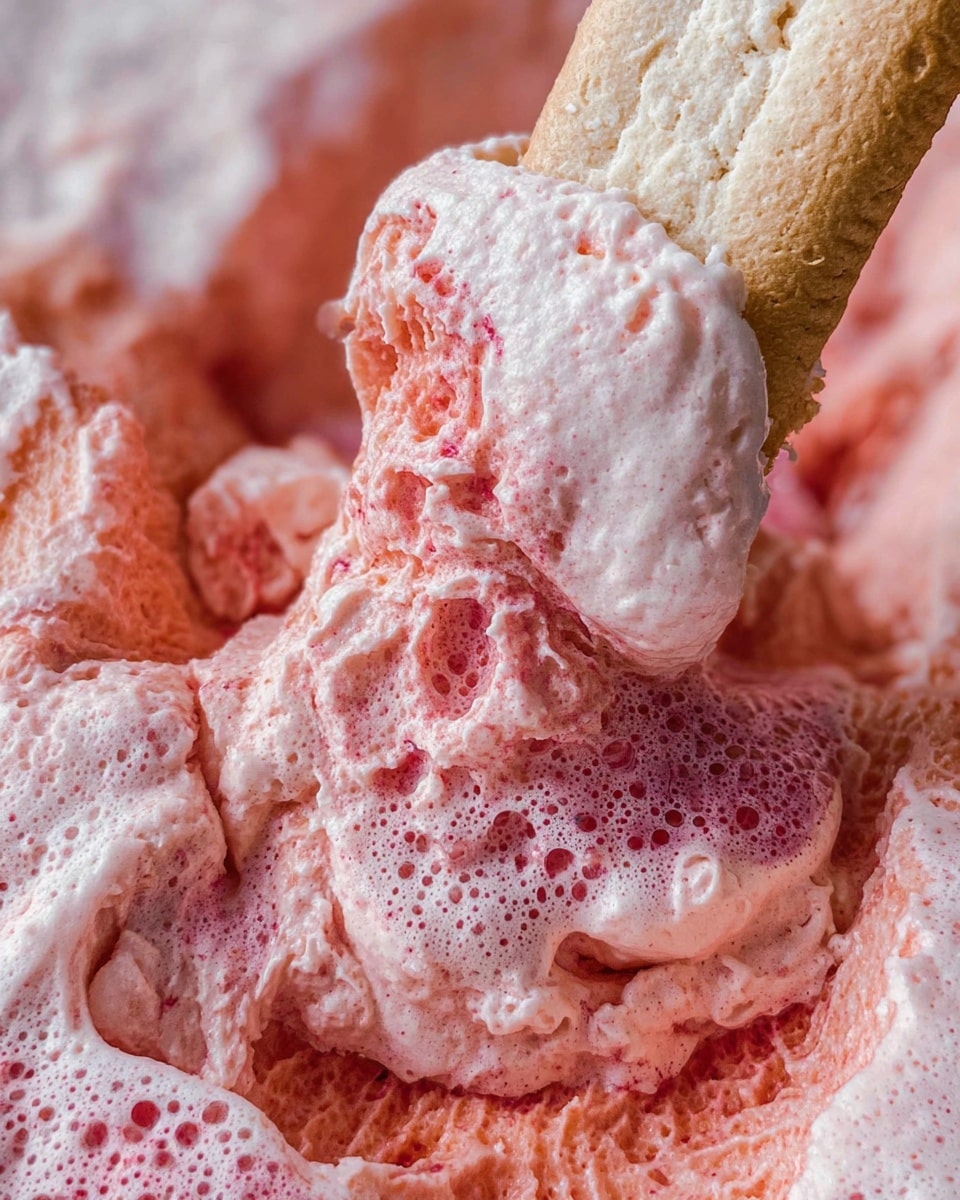
Garnishes
I usually keep garnishes simple with this dip—just a light sprinkle of crushed freeze-dried raspberries or a few chocolate shavings to add a bit of texture and a pop of color. It keeps that eerie brain look intact while adding a little punch to every bite.
Side Dishes
This dip pairs wonderfully with crisp ladyfinger cookies for that classic vibe, but I also love offering sliced apples, graham crackers, or even pretzel sticks—adding salty, sweet, and crunchy options is always a crowd-pleaser.
Creative Ways to Present
For Halloween parties, I like to serve the dip on a platter lined with red-tinted cellophane or surrounded by “bloody” raspberry sauce to amp up the gore factor. Sometimes I place plastic Halloween spiders around for extra creepiness. Trust me, your guests will be both grossed out and intrigued to dig in!
Make Ahead and Storage
Storing Leftovers
I’ve stored leftover brain dip in an airtight container in the fridge for up to 3 days without losing texture or flavor. Just give it a gentle stir before serving again, but honestly, in my house, it rarely lasts that long!
Freezing
Freezing isn’t my go-to for this one because the dip’s texture can get a bit grainy after thawing. But if you must, freeze in a tightly sealed container and thaw overnight in the fridge. Then, whip it up a bit with a mixer to bring back some smoothness.
Reheating
This dip is best served cold or at room temperature. Warm it up slightly if it feels too firm from chilling (about 10 minutes at room temp), but I don’t recommend microwaving as that can make the cream cheese separate.
FAQs
-
Can I use regular red food coloring instead of gel?
While you can, I don’t recommend it because liquid food coloring can thin out the dip and frosting. Gel colors give you bold color without changing the texture, which is why I always go for gel.
-
Is this dip suitable for kids?
Absolutely! While it’s themed for Halloween, it’s a sweet and tasty dip that kids love dipping ladyfingers or fruit into. Just remind them to be gentle so the brain frosting stays intact.
-
Can I make this dip vegan?
Yes, you can substitute dairy ingredients with vegan cream cheese and vegan butter alternatives, and look for a vegan-friendly red velvet cake mix. Just note the texture may shift slightly but still tasty!
-
How do I make the brain frosting look more realistic?
Slow and steady piping helps, and creating overlapping, curvy lines will mimic the brain’s folds. Also, chilling the frosting before piping can help maintain shape better.
Final Thoughts
I absolutely love how this Red Velvet Brain Dip with Cream Cheese Frosting Recipe turns out every time. It’s a perfect blend of spooky fun and mouthwatering flavor that’s easy to pull off, even if you don’t consider yourself an expert baker or decorator. Whether you’re hosting a Halloween party or just want to surprise your family with something unusual but delicious, this recipe will have you feeling proud and your guests begging for more. So grab your mixer and get ready to impress—you’ll be so glad you did!
Print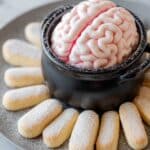
Red Velvet Brain Dip with Cream Cheese Frosting Recipe
- Prep Time: 25 min
- Cook Time: 0 min
- Total Time: 55 min
- Yield: 8 servings
- Category: Dip
- Method: No-Cook
- Cuisine: American
Description
This creepy Halloween Brain Dip features a luscious red velvet cake dip base flavored with cream cheese and butter, topped with a piped cream cheese frosting shaped like a wrinkly brain. It’s a perfect spooky treat for parties, paired with ladyfinger cookies for dipping.
Ingredients
Red Velvet Cake Dip Base
- 8 ounces cream cheese (softened)
- 1/2 cup salted butter (softened)
- 1 1/2 cups dry red velvet cake mix
- 1/2 cup powdered sugar
- 2 tablespoons light brown sugar
- 1/2 teaspoon vanilla extract
- red gel food coloring
Cream Cheese Frosting (Brain Topping)
- 1/2 cup unsalted butter (softened)
- 3 ounces cream cheese (softened)
- 1/2 tablespoon vanilla extract
- 1 1/2 cups powdered sugar
- red food coloring
Serving
- ladyfinger cookies (for dipping)
Instructions
- Prepare the Red Velvet Cake Dip Base: In a mixing bowl, combine 8 ounces softened cream cheese, 1/2 cup softened salted butter, 1 1/2 cups dry red velvet cake mix, 1/2 cup powdered sugar, 2 tablespoons light brown sugar, and 1/2 teaspoon vanilla extract. Add red gel food coloring gradually until you achieve a rich red hue. Mix thoroughly until smooth and well incorporated.
- Chill the Dip Base: Cover the cake dip base and refrigerate for about 30 minutes to allow it to firm up, which will make the brain topping easier to pipe.
- Prepare the Cream Cheese Frosting: In a separate bowl, beat together 1/2 cup softened unsalted butter and 3 ounces softened cream cheese until creamy. Add 1/2 tablespoon vanilla extract, then gradually add 1 1/2 cups powdered sugar, mixing well until smooth and fluffy. Add red food coloring incrementally to achieve a realistic brain color.
- Pipe the Brain Shape: Transfer the cream cheese frosting to a piping bag fitted with a small round tip. Pipe the frosting over the chilled red velvet dip base in continuous squiggly lines to mimic the folds and wrinkles of a brain. Ensure to cover the entire surface evenly for a creepy realistic look.
- Serve with Ladyfinger Cookies: Arrange ladyfinger cookies around the dip for guests to use for dipping. Keep refrigerated until ready to serve.
Notes
- This creamy red velvet brain dip is a perfect Halloween party appetizer or dessert centerpiece.
- Keep the dip chilled to maintain the frosting shape and texture.
- Adjust the amount of red food coloring to get your desired brain color intensity.
- Ladyfinger cookies provide a light, crispy contrast to the creamy dip.
Nutrition
- Serving Size: 1/8 of recipe (approx. 100g)
- Calories: 320 kcal
- Sugar: 28 g
- Sodium: 220 mg
- Fat: 21 g
- Saturated Fat: 12 g
- Unsaturated Fat: 7 g
- Trans Fat: 0 g
- Carbohydrates: 26 g
- Fiber: 1 g
- Protein: 4 g
- Cholesterol: 55 mg

