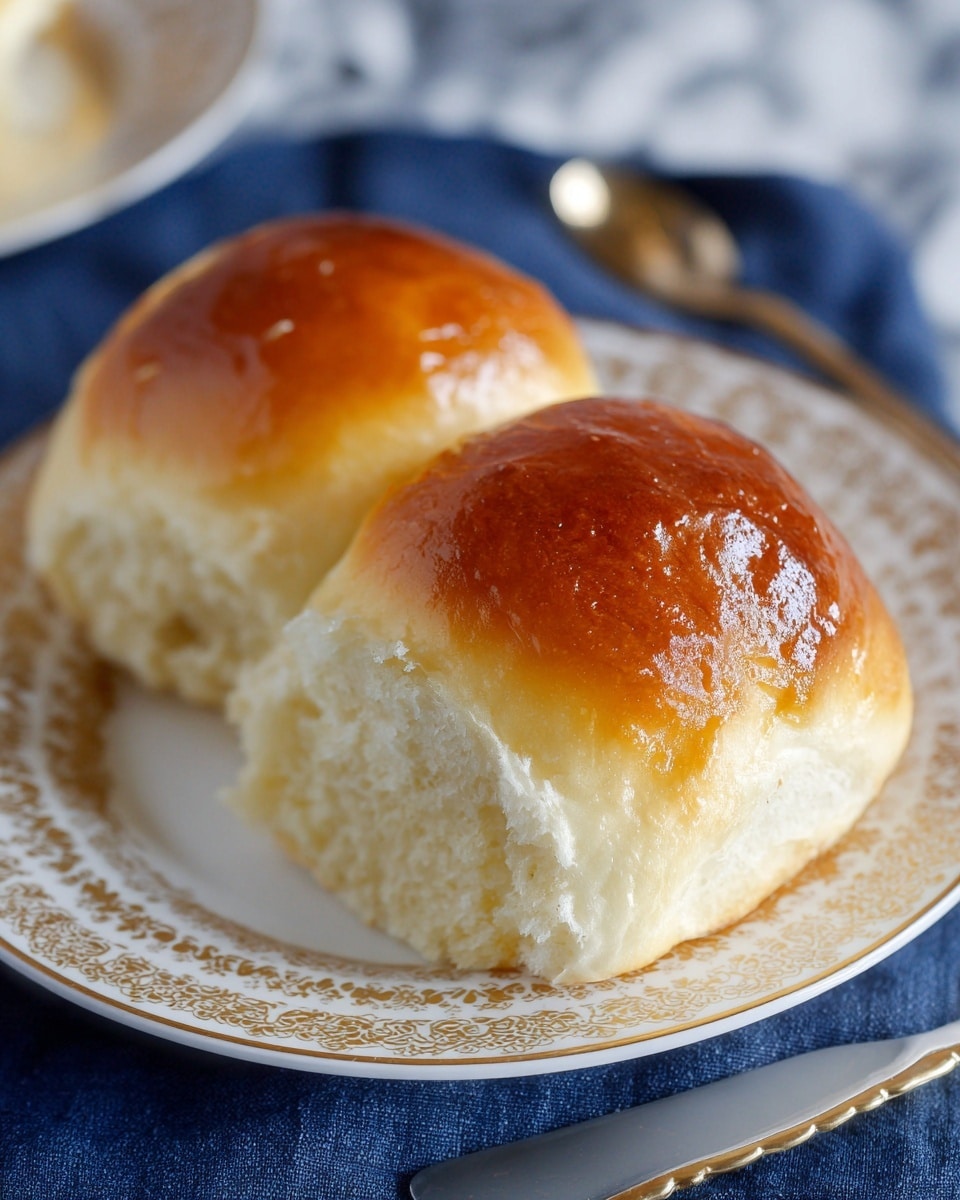
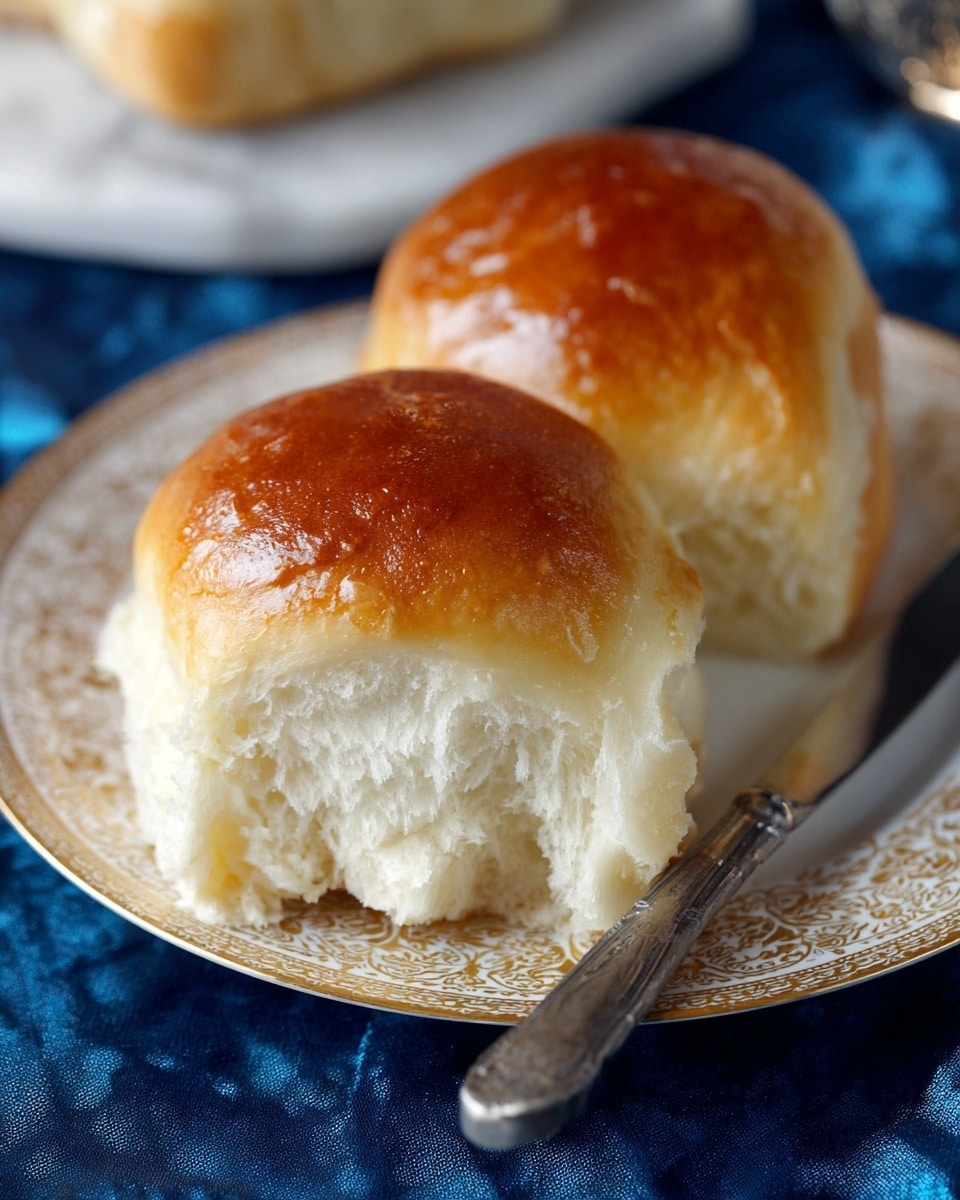
If you’re on the hunt for soft, fluffy, melt-in-your-mouth bread, I’ve got just the thing for you—this is The BEST Dinner Rolls Recipe you’ll ever try. Seriously, these rolls come out golden, buttery, and with a tender crumb that just begs to be slathered in butter (or honey, if you’re feeling sweet). Whether you’re serving a holiday feast or just craving some homemade goodness with your weeknight meal, these rolls will knock your socks off and become a family staple in no time.
Why You’ll Love This Recipe
- Simple Ingredients: No fancy stuff here—just pantry staples that come together beautifully.
- Quick and Easy: You won’t spend hours kneading or waiting; this recipe fits right into your busy schedule.
- Super Soft Texture: These rolls are light and fluffy, perfect for sopping up gravy or dunking in soup.
- Buttery Finish: The melted butter brushed on top adds that irresistible golden sheen and flavor boost.
Ingredients You’ll Need
The magic of these dinner rolls comes from how these simple ingredients play off each other. You’ll want to use fresh yeast for the best rise, and softened butter to mix smoothly without clumps. Pro tip: warm milk gets the yeast bubbling happily, but don’t scorch it—110°F is just right.
- All-purpose flour: Provides just the right structure—start with 4 cups, then add up to 5 as needed to get your dough perfect.
- Rapid rise yeast: Instant activation speeds up the rising time; no need to proof ahead.
- Granulated sugar: Feeds the yeast and adds a touch of sweetness that balances the buttery notes.
- Salt: Enhances flavor and keeps the yeast in check for an even rise.
- Warm milk: Helps create a tender crumb—warm it to about 110°F to activate the yeast but not kill it.
- Butter (softened): Mixed into the dough for richness and softness.
- Egg: Gives the rolls a lovely golden color and tender texture.
- Melted butter (for brushing): Adds that luscious buttery finish right out of the oven.
Variations
I love how versatile The BEST Dinner Rolls Recipe is—you can easily tweak it for different flavors or dietary needs. I found a few little twists that turned these rolls into something extra special depending on the occasion.
- Herb-Infused Rolls: Adding fresh rosemary or thyme to the dough gave my family a fragrant twist that pairs perfectly with roasted dinners.
- Garlic Butter Rolls: Mix a bit of garlic powder into the melted butter before brushing it on the rolls—instant crowd-pleaser.
- Whole Wheat Version: Swap half the flour for whole wheat and add a bit more honey or sugar to balance the earthiness; still super soft, just with a nuttier flavor.
- Gluten-Free Adaptation: Though I haven’t fully tested this yet, using a gluten-free flour blend with xanthan gum and extra moisture should work with a bit of tweaking.
How to Make The BEST Dinner Rolls Recipe
Step 1: Mix It Up and Watch It Transform
Start by combining 3 cups of flour, yeast, sugar, salt, warm milk, softened butter, and egg in your stand mixer bowl. Use the dough hook and keep the speed low at first so the flour incorporates slowly—this helps avoid a flour cloud in your kitchen. I like to pause a couple of times to scrape the sides so everything mixes evenly.
Step 2: Knead and Add Flour Gradually
Once everything is mixed at low speed, crank it up to medium and let it knead for about 2 minutes. Now, slowly add another 1/2 cup of flour and mix until blended, then repeat with another 1/2 cup. The goal is to form a soft, slightly sticky dough ball that pulls away from the sides but isn’t dry or crumbly. Don’t be tempted to dump all the flour in at once—I learned that the slow addition gives the best texture and keeps the rolls tender.
Step 3: First Rise, Then Punch It Down
After kneading, transfer your dough to a lightly greased bowl, cover it with a clean towel or plastic wrap, and let it rise at room temp for about 30 minutes. You’ll notice it doubles in size and looks delightfully puffy—this is the magic happening. Once risen, “deflate” the dough by gently punching it down; this step relaxes the gluten, making it easier to shape later.
Step 4: Shape and Second Rise
Pinch off the dough and roll it into 24 equal-sized balls—I like to weigh mine around 2 ounces each, but you can eyeball them if you prefer. Arrange the rolls on a greased baking tray or dish, cover again, and let them rise for another 30 minutes. Your patience here pays off big time, as this second rising is what creates those soft, airy layers when baked.
Step 5: Bake and Butter Up
Pop the rolls into a preheated 375°F oven for 12–15 minutes. Keep an eye out for a beautiful golden top. If they start browning too quickly, just tent with foil to keep everything perfect. When they’re done, don’t skip brushing the hot rolls with melted butter—that glossy, buttery finish takes these from good to swoon-worthy.
Pro Tips for Making The BEST Dinner Rolls Recipe
- Perfect Dough Texture: Aim for dough that’s just slightly sticky—it should pull away from the bowl but remain soft; this ensures tender rolls every time.
- Don’t Rush Rising: Letting the rolls rise fully before baking makes all the difference for fluffiness and volume.
- Butter Brushing: Brushing the rolls right after baking keeps them moist and adds flavor; I often double the amount if guests are coming!
- Avoid Over-Browning: If your oven runs hot, tent with foil partway through baking to prevent hard crusts.
How to Serve The BEST Dinner Rolls Recipe
Garnishes
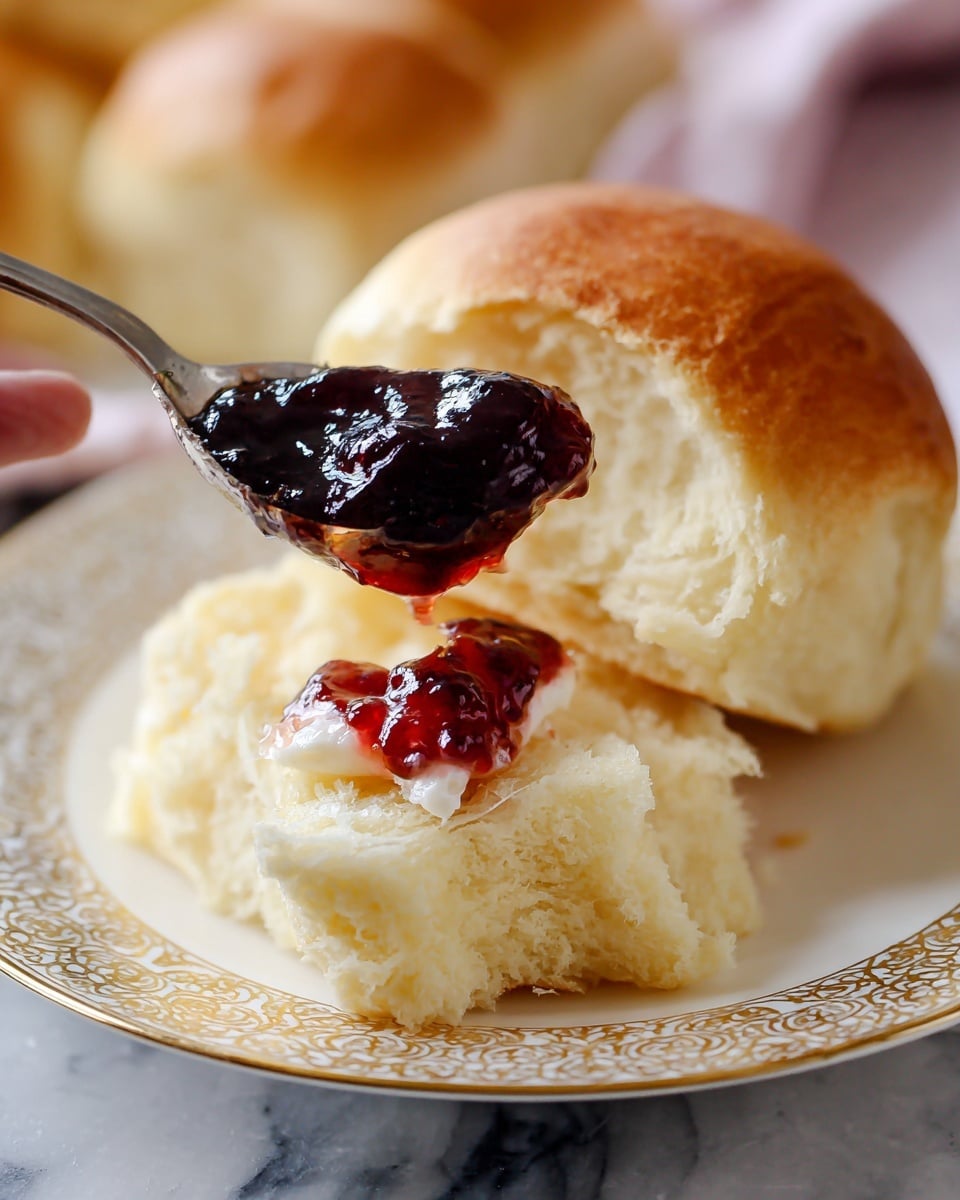
I love keeping it classic with just melted butter, but sometimes I sprinkle a little flaky sea salt or fresh herbs like parsley or chives on top. It’s such a simple touch, but it instantly elevates the rolls and looks so inviting sitting on the table.
Side Dishes
These rolls are perfect alongside roasted chicken, hearty stews, or even a simple bowl of soup. My family goes crazy for them dipped into creamy mashed potatoes or used to mop up saucy pasta dishes. Basically, if your meal’s got sauce, these rolls are the MVP accompaniment.
Creative Ways to Present
For special occasions, I’ve arranged the rolls in a pull-apart bread style in a bundt pan or ring-shaped dish—which makes them extra fun to share. You can even sprinkle cheese or garlic herbs in between before baking for a family-style sharing loaf that disappears fast!
Make Ahead and Storage
Storing Leftovers
Once cooled, I store leftover rolls in a sealed plastic bag at room temperature—they stay soft for up to 3 days. If you want to keep them fresh longer, storing in the fridge can make them a bit dryer, so I avoid that when I can.
Freezing
I’ve frozen these rolls many times with great success. Just freeze fully cooled rolls in a freezer-safe bag, then thaw at room temp when ready to eat. They reheat beautifully and taste almost as fresh as the day they were baked.
Reheating
For warm rolls, I pop them in a 300°F oven for about 10 minutes wrapped in foil to retain moisture. A quick microwave zap works too in a pinch, but the oven method really revives that fresh-baked softness.
FAQs
-
Can I use active dry yeast instead of rapid rise yeast?
Yes! If you have active dry yeast, just proof it first in warm milk with the sugar for about 5-10 minutes until bubbly before mixing it with the other ingredients. This step isn’t necessary with rapid rise yeast, which you can add directly to the dry ingredients.
-
What if my dough is too sticky or too dry?
If the dough sticks heavily to your hands and the bowl, add flour a little at a time when kneading—up to about 5 cups total. If the dough feels dry or cracks when shaping, add a teaspoon of milk or water to moisten it. The dough should feel soft and only slightly sticky.
-
Can I make these rolls without a stand mixer?
Absolutely! You can mix and knead this dough by hand. It just takes a bit more effort and time to develop the gluten by kneading on a floured surface for about 8-10 minutes until smooth and elastic.
-
How do I know when the rolls are done baking?
They should be golden brown on top, feel light, and sound hollow when tapped gently on the bottom. If you’re unsure, an instant-read thermometer inserted into the center should read around 190°F.
-
Can I prepare the dough ahead of time?
Yes, you can refrigerate the shaped rolls after the second rise for up to 12 hours. Just cover tightly and bake straight from the fridge—add a few extra minutes to the baking time.
Final Thoughts
I absolutely love how this recipe transforms simple ingredients into something so comforting and delicious. When I first tried this, I was amazed at how soft and buttery the rolls turned out with minimal fuss. Whether you’re baking them just because or for a special dinner, these are the rolls I always recommend to friends because they never disappoint. Give The BEST Dinner Rolls Recipe a go—you’ll be surprised at how easy it is to make homemade bread that tastes this amazing!
Print
The BEST Dinner Rolls Recipe
- Prep Time: 10 minutes
- Cook Time: 12-15 minutes
- Total Time: 52-55 minutes (including rising times)
- Yield: 24 rolls
- Category: Bread
- Method: Baking
- Cuisine: American
Description
These BEST Dinner Rolls are light, fluffy, and buttery, made from simple ingredients and perfect for complementing any meal. With a soft, tender crumb and golden crust, they are easy to prepare and come together quickly, making them a favorite homemade bread choice for family dinners and special occasions alike.
Ingredients
Dough
- 4-5 cups all-purpose flour
- 2 tablespoons rapid rise, instant yeast
- ⅓ cup granulated sugar
- 1 teaspoon salt
- 1½ cups warm milk (110 degrees F)
- 5 tablespoons butter, softened
- 1 egg, room temperature
Finishing
- 2 tablespoons melted butter (for brushing)
Instructions
- Combine Ingredients: In the bowl of a stand mixer, add 3 cups of flour, yeast, sugar, salt, warm milk, softened butter, and the egg. Attach the dough hook to the mixer.
- Initial Mixing: Mix on the lowest speed until the flour is incorporated, occasionally scraping down the sides of the bowl to ensure even mixing.
- Beat Dough: Increase the mixer speed to medium and beat for 2 minutes to develop gluten and create a smooth dough.
- Add More Flour: Gradually add ½ cup flour, mixing with the dough hook until incorporated, then add another ½ cup flour and mix again at medium speed for an additional 2 minutes until a ball forms.
- Adjust Flour: Add more flour as necessary; the dough should be soft, slightly sticky, and pull away from the sides of the bowl.
- First Rise: Transfer the dough to a lightly greased bowl, cover with a towel or plastic wrap, and let it rise at room temperature for 30 minutes.
- Deflate Dough: Remove the cover and gently punch down the dough to release air.
- Shape Rolls: Pinch off pieces of dough and form 24 rolls, roughly 2 ounces each for uniform size.
- Second Rise: Place the rolls on a lightly greased quarter baking sheet or 9×13 baking dish. Cover and let rise for another 30 minutes at room temperature.
- Preheat Oven & Bake: Preheat the oven to 375°F (190°C). Bake the rolls for 12 to 15 minutes or until they are golden brown and cooked through. Tent with foil if they brown too quickly.
- Brush with Butter: Remove the rolls from the oven and immediately brush with melted butter for a soft and flavorful crust.
- Serve or Store: Serve hot rolls right away or cool completely and store in a plastic bag for up to 3 days.
Notes
- These rolls are incredibly light and fluffy with a buttery flavor that complements any meal perfectly.
- The dough may require extra flour depending on humidity and flour type; it should remain slightly sticky for the best texture.
- Using instant yeast makes the preparation faster since it doesn’t require proofing.
- For best results, keep the milk at about 110 degrees Fahrenheit to activate the yeast without killing it.
- Brushing with melted butter after baking gives the rolls a soft, rich crust and shiny finish.
- Make sure not to overbake to maintain softness inside the rolls.
Nutrition
- Serving Size: 1 roll
- Calories: 74 kcal
- Sugar: 3 g
- Sodium: 136 mg
- Fat: 4 g
- Saturated Fat: 2 g
- Unsaturated Fat: 2 g
- Trans Fat: 0 g
- Carbohydrates: 7 g
- Fiber: 0.3 g
- Protein: 1 g
- Cholesterol: 17 mg

