If you’re craving that perfect cozy dessert that just screams fall comfort, you’re in the right place. I want to share with you The Great Pumpkin Pie Recipe, a fan-freaking-tastic take on a classic that will have your kitchen smelling like heaven and your loved ones asking for seconds. Trust me, once you try this, it’s going to become your go-to pumpkin pie for every occasion.
Why You’ll Love This Recipe
- Perfectly Balanced Flavors: This recipe blends warm spices with rich pumpkin for that unmistakable cozy taste.
- Easy to Follow: Even if you’re new to pumpkin pie, the straightforward steps ensure success every time.
- Crowd-Pleaser: My family goes crazy for this pie, and I’m sure yours will too!
- Versatile and Customizable: You can tweak it to fit any dietary needs or personal preferences.
Ingredients You’ll Need
I love that the ingredients for The Great Pumpkin Pie Recipe are simple but come together in a way that brings out all the warm, cozy flavors we associate with pumpkin pie season. When you shop, look for high-quality pumpkin puree and fresh spices to really make it shine.
- Pumpkin Puree: Use pure pumpkin puree, not pumpkin pie filling, for the best texture and flavor control.
- Heavy Cream: Adds richness and creaminess to the filling – makes the texture silky and smooth.
- Eggs: These help the pie set perfectly without being rubbery.
- Granulated Sugar: Sweetens without overpowering the natural pumpkin flavor.
- Brown Sugar: Adds a subtle caramel note that pairs beautifully with pumpkin’s earthiness.
- Cinnamon: A warm spice highlighting the pumpkin flavor, fresh ground is best!
- Ginger: Brings a little zest and spice warmth.
- Nutmeg: A little goes a long way for that classic pumpkin pie spiciness.
- Salt: Balances the sweetness and deepens flavor complexity.
- Pie Crust: Whether homemade or store-bought, a flaky, buttery crust is key here.
Variations
The Great Pumpkin Pie Recipe is wonderfully adaptable. I’ve experimented with a few tweaks over the years, and I encourage you to tweak it too, based on what you have on hand or to fit your taste buds.
- Gluten-Free Crust: One year, I swapped in a gluten-free pie crust, and honestly, no one even noticed. It still held up perfectly and tasted amazing.
- Vegan Version: I’ve used coconut cream instead of heavy cream and an egg replacer to great results for vegan guests.
- Spice Mix: Feel free to add cardamom or allspice to your spice blend if you like a little extra warmth.
- Ginger Kick: I sometimes add a bit more fresh grated ginger for a sharper, spicier note that really wakes up the filling.
How to Make The Great Pumpkin Pie Recipe
Step 1: Prep Your Pie Crust
First things first, whether you’re rolling out your own crust or using store-bought, place it in your pie dish and crimp the edges neatly. I like to chill my crust while I prep the filling — this simple step helps prevent shrinking and sogginess later on.
Step 2: Mix the Filling to Perfection
In a large bowl, whisk together the pumpkin puree, sugars, eggs, heavy cream, and spices until smooth and uniform. I always taste a tiny bit of this mixture (yes, raw pumpkin!) to check the spice balance — this step saved me from being too cinnamon-heavy more than once.
Step 3: Pour and Bake
Pour the filling into your prepared crust and smooth out the top with a spatula. Bake at 350°F (177°C) for about 50-60 minutes until the filling is just set — it will still jiggle slightly in the center but shouldn’t be liquidy. The crust edges should be golden and crisp. Stay close to the oven near the end; ovens vary and you don’t want your pie to overcook.
Step 4: Cool and Serve
This is a tempting one — I know! But letting the pie cool completely allows the filling to set nicely so your slices come out perfect. I usually chill mine for a few hours, then serve with whipped cream or vanilla ice cream for that ultimate fall treat.
Pro Tips for Making The Great Pumpkin Pie Recipe
- Don’t Overmix: Mix ingredients just until combined to keep the filling silky and avoid breaking down the pumpkin texture too much.
- Use Fresh Spices: I learned that fresh cinnamon and nutmeg make all the difference – pre-ground spices from months ago just don’t compare.
- Watch Your Bake Time: Check at 50 minutes and then every few minutes after – ovens vary, and you want a custardy center without cracks.
- Chill Before Serving: Resist cutting it warm. Cooling helps the pie slice cleanly and develops flavor, so plan ahead.
How to Serve The Great Pumpkin Pie Recipe
Garnishes
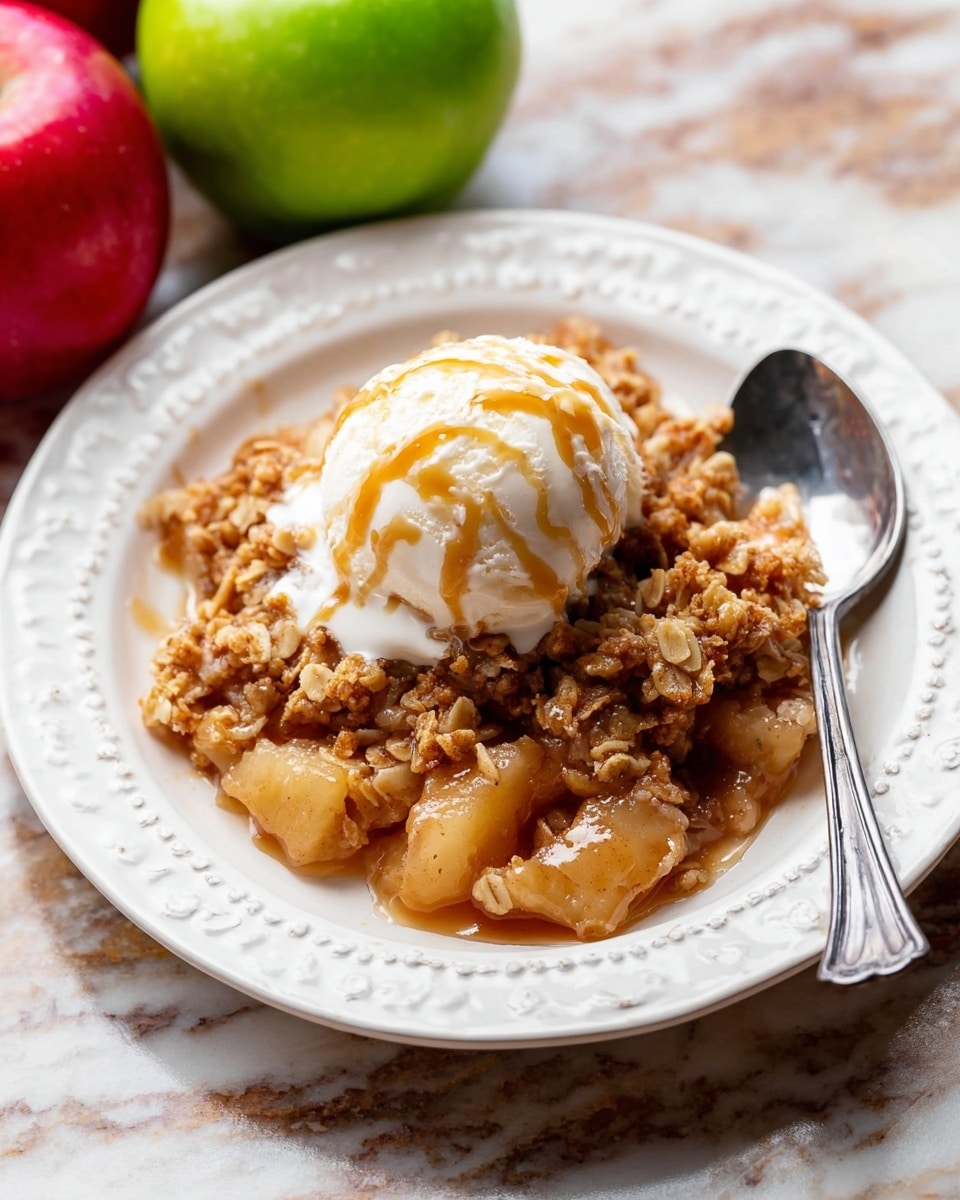
I personally adore topping this pie with a dollop of freshly whipped cream mixed with a touch of vanilla and a sprinkle of cinnamon. Sometimes, I’ll add chopped toasted pecans for crunch. If I’m serving for a special occasion, a drizzle of maple syrup or even bourbon caramel sauce brings it over the top.
Side Dishes
When I serve The Great Pumpkin Pie Recipe, I like to keep sides simple. Vanilla ice cream or a scoop of salted caramel gelato works beautifully. If it’s Thanksgiving, a cup of hot spiced apple cider alongside just completes the experience.
Creative Ways to Present
For holiday dinners, I’ve placed the pie on a rustic wooden board surrounded by small gourds and fresh autumn leaves. You can use mini pumpkin-shaped whipped cream dollops piped on top or serve in individual ramekins for a fancy twist. The Great Pumpkin Pie Recipe is as flexible as it is delicious!
Make Ahead and Storage
Storing Leftovers
I always cover leftovers tightly with plastic wrap and keep them in the fridge. The pie keeps beautifully for up to 4 days, and the flavors often deepen overnight, which I love!
Freezing
If you want to freeze your pie, wrap it tightly in foil and plastic wrap, then freeze for up to a month. When you’re ready, thaw it overnight in the fridge before reheating gently in the oven.
Reheating
I like to warm slices in a 325°F oven for about 10 minutes, just enough to bring back that fresh-baked feel without drying it out. Microwave is fine too, but the texture is best when reheated low and slow in the oven.
FAQs
-
Can I use canned pumpkin puree for The Great Pumpkin Pie Recipe?
Yes! Just make sure it’s 100% pure pumpkin puree, not pumpkin pie filling, which has extra sugars and spices. Pure pumpkin gives you full control over the sweetness and spice level.
-
How do I know when the pumpkin pie is done baking?
The filling should be mostly set but still have a slight jiggle in the center when gently shaken. Over-cooking causes cracking and dryness, so start checking at 50 minutes and watch carefully.
-
Can I make The Great Pumpkin Pie Recipe ahead of time?
Absolutely! You can bake it a day ahead, let it cool completely, then cover and refrigerate. The flavors actually get better with time. Just bring it back to room temp or warm slightly before serving.
-
What are the best toppings for pumpkin pie?
Traditional whipped cream is divine, but feel free to get creative with vanilla ice cream, caramel sauce, toasted nuts, or a sprinkle of pumpkin pie spice for extra flair.
-
Can I make this recipe dairy-free?
Yes! Substitute the heavy cream with coconut or almond milk and use a vegan pie crust. You can replace eggs with a flax or chia egg for a great dairy-free version.
Final Thoughts
I absolutely love how The Great Pumpkin Pie Recipe turns out every single time — its creamy, warmly spiced filling paired with a flaky crust just feels like home to me. I remember making this with my family for the first time and seeing everyone’s faces light up after the first bite; that’s when I knew this recipe was a keeper. Whether you’re a seasoned baker or trying pumpkin pie for the first time, this recipe is friendly, forgiving, and utterly delicious. Go ahead and give it a try — I promise it’ll become a favorite in your kitchen too!
Print
The Great Pumpkin Pie Recipe
- Prep Time: 15 minutes
- Cook Time: 45 minutes
- Total Time: 1 hour 5 minutes
- Yield: 8 servings (serves 8-10)
- Category: Dessert
- Method: Baking
- Cuisine: American
Description
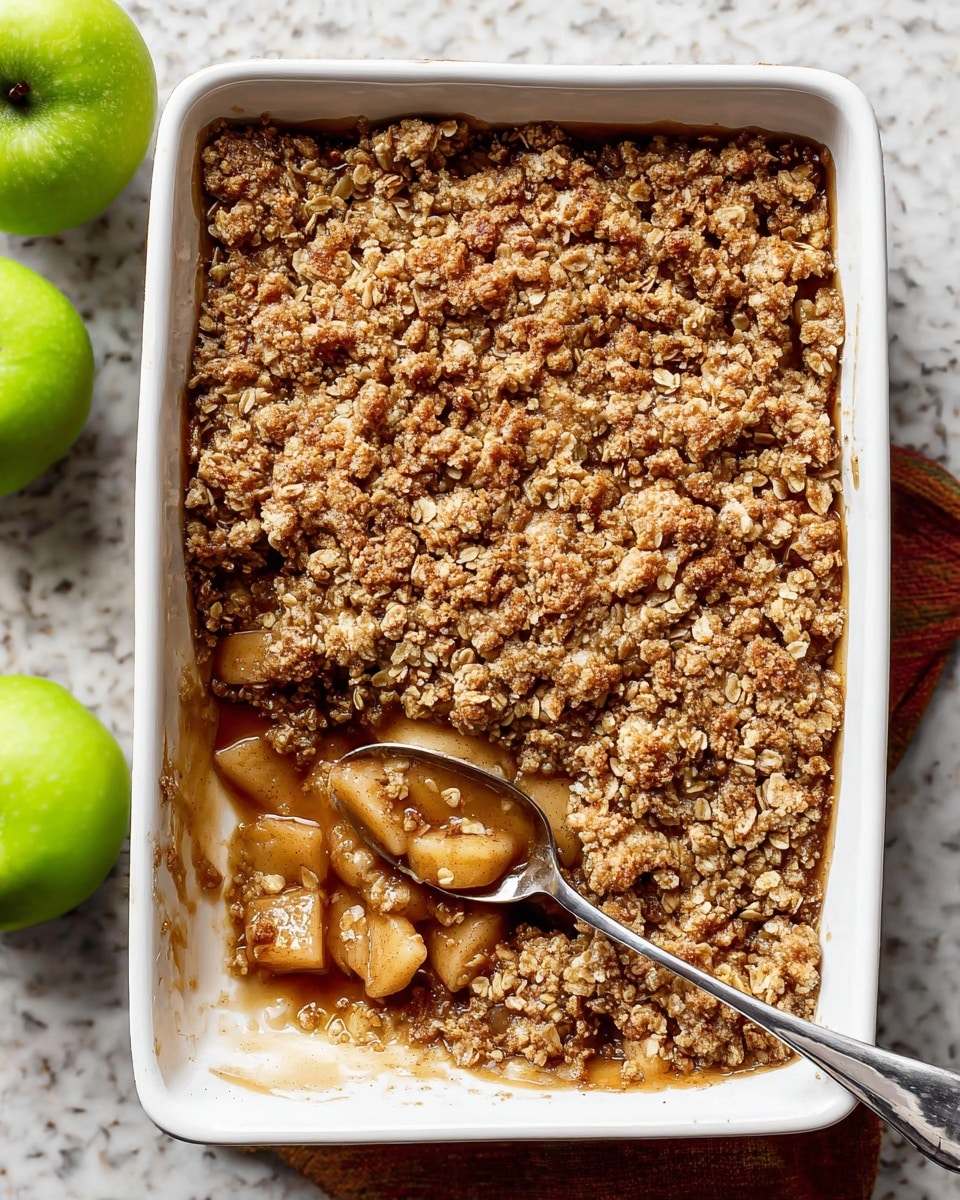
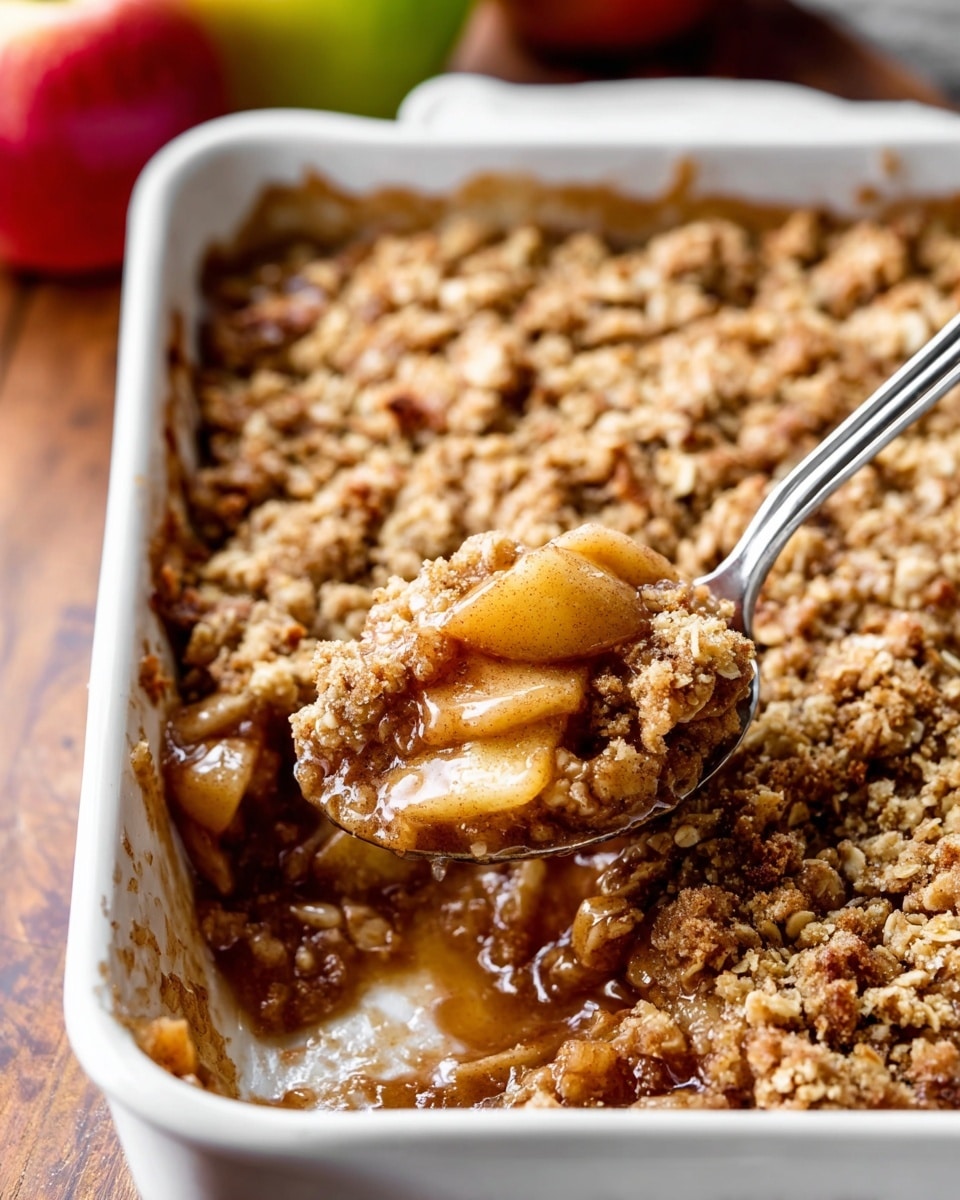
Classic Apple Crisp is a warm and comforting dessert featuring tender cinnamon-spiced apples topped with a buttery, crispy oat and brown sugar crumble. Perfect served fresh from the oven with a scoop of vanilla ice cream or drizzled with salted caramel, this easy-to-make apple crisp is a fall favorite that offers a perfect balance of sweet and spice.
Ingredients
Filling
- 8 medium peeled apples, cut into 1-inch chunks that are 1/4 – 1/2 inch thick (about 10 cups, or 1200g, chunks)
- 1/2 cup (100g) packed light or dark brown sugar
- 1/4 cup (31g) all-purpose flour (spooned & leveled)
- 1 teaspoon pure vanilla extract
- 1 teaspoon ground cinnamon
- 1/2 teaspoon ground nutmeg
- 1/4 teaspoon salt
Topping
- 3/4 cup (94g) all-purpose flour (spooned & leveled)
- 3/4 cup (150g) packed light or dark brown sugar
- 1 teaspoon ground cinnamon
- 1/2 cup (8 Tbsp; 113g) unsalted butter, cold and cubed
- 1 cup (85g) old-fashioned whole rolled oats
Optional for serving
- Salted caramel
- Vanilla ice cream
Instructions
- Preheat Oven and Prepare Baking Dish: Preheat your oven to 350°F (177°C). Lightly grease a 9×13-inch baking pan or any 3.5-4-quart baking dish to prevent sticking.
- Mix Filling Ingredients: In a large bowl, combine the peeled and chopped apples, brown sugar, flour, vanilla extract, ground cinnamon, ground nutmeg, and salt. Stir everything together until the apple chunks are evenly coated with the mixture. Spread this filling evenly into the prepared baking pan.
- Prepare the Topping: In a medium bowl, whisk together flour, brown sugar, and cinnamon. Use a pastry cutter or fork to cut in the cold, cubed unsalted butter until the mixture forms coarse crumbs. Finally, stir in the old-fashioned rolled oats, ensuring they are well distributed throughout the crumble mixture.
- Assemble and Bake: Sprinkle the oat topping evenly over the apple filling. Place the baking pan in the preheated oven and bake for about 45 minutes, or until the topping turns golden brown and the fruit juices are bubbling around the edges.
- Cool and Serve: Remove the apple crisp from the oven and set it on a wire rack. Allow it to cool for at least 5 minutes before serving. You can enjoy it warm, at room temperature, or cold. For an indulgent touch, serve with salted caramel sauce and/or vanilla ice cream.
- Store Leftovers: Cover any leftovers and store them in the refrigerator for up to 5 days, maintaining freshness and flavor.
Notes
- This classic apple crisp perfectly balances warm, gooey cinnamon-spiced apples with a buttery, crumbly oat topping made from brown sugar and cinnamon.
- For make-ahead, prepare the apple mixture and topping separately, then assemble just before baking.
- You can freeze the assembled, unbaked apple crisp for up to 2 months; thaw overnight in the refrigerator before baking.
- Serving suggestions include plain, with salted caramel drizzle, or topped with vanilla ice cream for extra richness.
Nutrition
- Serving Size: 1 slice (1/8th of the recipe)
- Calories: 330
- Sugar: 28g
- Sodium: 110mg
- Fat: 13g
- Saturated Fat: 7g
- Unsaturated Fat: 5g
- Trans Fat: 0g
- Carbohydrates: 49g
- Fiber: 4g
- Protein: 3g
- Cholesterol: 30mg

