
If you’re anything like me and love that perfect balance of juicy, tender meat with irresistibly crispy skin, this Crispy Baked Chicken Legs Recipe is about to become your weeknight hero. I absolutely love how these chicken legs turn out—crispy on the outside, flavorful all the way through, and way easier than frying. Trust me, once you try this, you’ll find yourself reaching for chicken legs more often than ever!
Why You’ll Love This Recipe
- Crispy Skin Without Frying: The baking powder trick gives you that unbeatable crunch while keeping it oven-friendly.
- Super Juicy Inside: Drying the chicken before baking really locks in moisture, giving you tender meat every time.
- Hands-On Seasoning: I love mixing the spices and oil by hand—it helps coat every inch perfectly.
- Easy Prep and Cleanup: Using a wire rack keeps the chicken elevated for even cooking and lets the fat drip away.

Ingredients You’ll Need
These ingredients come together to create that crave-worthy crispy skin and juicy chicken combo. You’ll notice the baking powder is key—it’s the secret weapon for that extra crunch, trust me on this one!

- Chicken drumsticks: Make sure to get ones that are evenly sized for cooking consistency, and I always remove any excess fat for cleaner bites.
- Olive oil: A little bit helps the seasoning stick and the skin crisp up nicely without drying out.
- Poultry seasoning: I often use this classic blend, but feel free to swap for your favorite spice mix—garlic powder and smoked paprika work wonders!
- Salt and black pepper: Basic but essential for seasoning—don’t be shy to adjust to your taste.
- Baking powder: This is the magic ingredient that ensures your chicken skin crisps up perfectly in the oven.
Variations
I love making this Crispy Baked Chicken Legs Recipe my own depending on the mood or what I have on hand—you can easily mix up the flavors or tweak it for different diets. Playing around with seasonings keeps the recipe fresh and exciting.
- Spicy Kick: I’ve added cayenne pepper or chipotle powder for a smoky heat that my family goes crazy for.
- Herb Lovers Delight: Adding fresh chopped rosemary and thyme brightens the flavor beautifully—great for a Sunday supper.
- Gluten-Free Option: Make sure your baking powder is gluten-free; this recipe is naturally free from wheat otherwise!
- Low Sodium: Reduce or omit the salt and use herbs and lemon zest to boost flavor without extra sodium.
How to Make Crispy Baked Chicken Legs Recipe
Step 1: Dry and Chill the Chicken Legs
This first step is a game changer—I always place the chicken legs on a cooling rack lined with paper towels, then cover with more towels and refrigerate them for at least two hours, or overnight if I plan ahead. This extra drying step helps the skin crisp up like crazy. If you’re short on time, just pat them really dry with paper towels, but you’ll notice the difference when you let them air dry in the fridge.
Step 2: Prep the Oven and Coating Mixture
Preheat your oven to 400°F. Remove the paper towels from the rack and give it a little spray with non-stick cooking spray—you want to prevent sticking but keep airflow. Then, in a large bowl, mix olive oil, poultry seasoning, salt, black pepper, and baking powder. When I do this part, I like to use my hands to massage the mixture onto the chicken—it just feels easier to get every spot evenly coated.
Step 3: Arrange and Bake the Chicken Legs
Place the coated chicken legs on the wire rack with some space between each piece—that space is crucial for even cooking and crispiness. Pop them in the oven for about 35-40 minutes. Use a digital meat thermometer to check for doneness—the internal temperature should hit 165°F. I always err on the side of a few extra minutes for that crispy finish without drying them out.
Step 4: Rest and Serve
Once out of the oven, give the chicken a 5-minute rest. This little pause lets the juices redistribute and keeps every bite juicy. Then, dive in and enjoy all that crispy, flavorful goodness!
Pro Tips for Making Crispy Baked Chicken Legs Recipe
- Don’t Skip the Chill: Air-drying in the fridge is my secret weapon for ultra-crispy skin—plan ahead if you can.
- Use a Wire Rack: Elevating the chicken lets hot air circulate all around, preventing sogginess and speeding up crisping.
- Apply Seasoning by Hand: I find using my hands to coat the chicken really helps distribute flavors evenly without tearing the skin.
- Check Internal Temperature: Using a digital thermometer ensures perfectly cooked, juicy chicken without playing the guessing game.
How to Serve Crispy Baked Chicken Legs Recipe

Garnishes
I usually sprinkle fresh chopped parsley or thyme over the chicken before serving—it adds a pop of color and fresh herbal flavor that brightens the rich, crispy skin. A little squeeze of fresh lemon juice right before eating also takes it up a notch!
Side Dishes
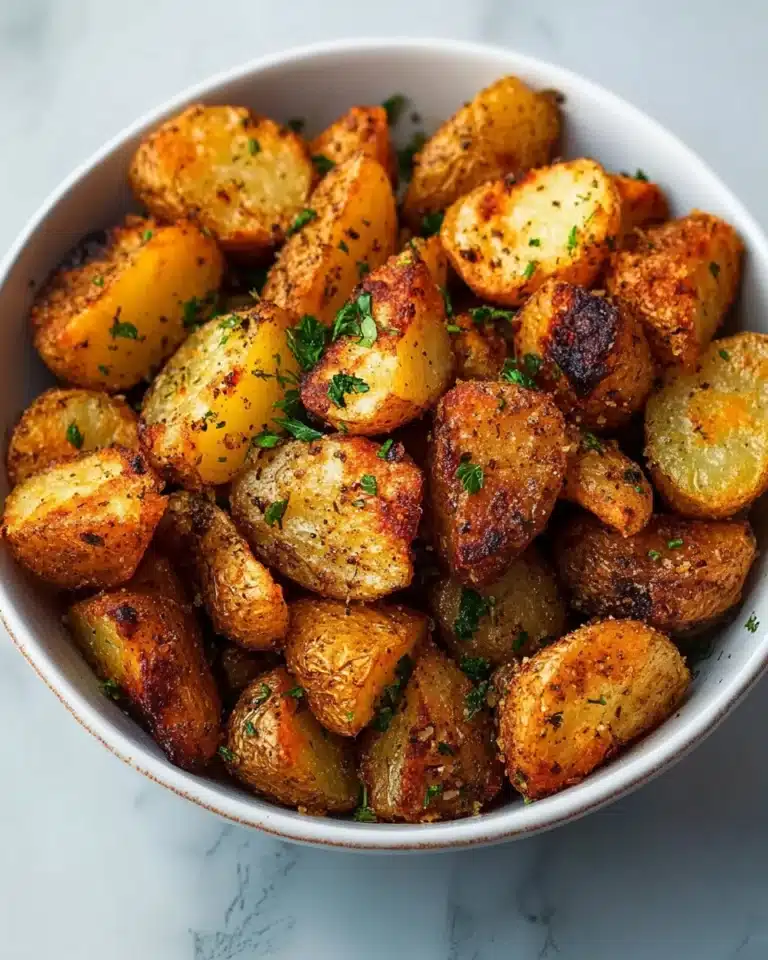
My go-to sides for this crispy baked chicken are creamy mashed potatoes or roasted veggies like asparagus or Brussels sprouts. Honestly, it pairs beautifully with a simple green salad too if you want to keep things light and fresh.
Creative Ways to Present
For special occasions, I like arranging the chicken legs on a large platter with lemon wedges, fresh herbs, and a drizzle of chili oil or honey mustard sauce alongside for dipping. It looks inviting and feels a bit more festive when you’re feeding a crowd.
Make Ahead and Storage
Storing Leftovers
I let leftovers cool to room temperature before storing them in an airtight container in the fridge. They stay fresh for about 3-4 days, which means you can enjoy this crispy goodness multiple times in a week without reheating too often.
Freezing
If I’m making a bigger batch, I sometimes freeze cooked chicken legs. Wrap each piece tightly in foil or plastic wrap, then place in a freezer bag. When you want to enjoy them again, thaw overnight in the fridge—it’s super convenient for quick meals later.
Reheating
To keep that crispy skin on leftovers, I reheat the chicken legs in a 375°F oven on a wire rack for about 10-15 minutes. Avoid the microwave—it makes the skin soggy and sad. This way, they come out just as good as freshly baked!
FAQs
-
What makes the chicken skin crispy in this baked recipe?
The magic ingredient is baking powder—it raises the pH level of the skin, helping it brown and crisp up beautifully in the oven. Combined with air-drying the chicken before baking, it gives you that fried-chicken-like crunch without the mess.
-
Can I use other cuts of chicken for this recipe?
Absolutely! Chicken thighs, wings, or even bone-in breasts work well. Just adjust the cooking time accordingly as thighs and wings typically cook faster than drumsticks.
-
Is poultry seasoning necessary, or can I use other seasonings?
You can definitely switch it up! Poultry seasoning is great for classic flavor, but you can use garlic powder, smoked paprika, chili powder, or your favorite spice blend to match your taste preferences.
-
How do I know when the chicken legs are fully cooked?
Using a digital meat thermometer is the best way to be sure. Insert it into the thickest part of the leg without touching bone—the internal temp should reach 165°F for safe and juicy results.
Final Thoughts
This Crispy Baked Chicken Legs Recipe has become one of my absolute favorites for a reason—it’s an easy, no-fuss way to get that crave-worthy crunchy skin without all the extra oil and hassle of frying. Plus, it’s versatile enough to dress up or down depending on your mood. Give it a try, and I’m pretty sure you’ll be adding it to your regular rotation just like I did. Happy cooking, friend!
Print
Crispy Baked Chicken Legs Recipe
- Prep Time: 15 minutes
- Cook Time: 35-40 minutes
- Total Time: 50-55 minutes
- Yield: 8 servings
- Category: Main Course
- Method: Baking
- Cuisine: American
Description
This Crispy Baked Chicken Legs recipe delivers juicy, flavorful drumsticks with a perfectly crispy skin achieved through a simple mixture of poultry seasoning, baking powder, and olive oil. The chicken is air-dried before baking to ensure maximum crispiness without deep frying, making this a healthier yet delicious alternative to fried chicken.
Ingredients
Chicken
- 2 pounds chicken drumsticks, cleaned with excess fat removed
Seasoning Mix
- 2 tablespoons olive oil
- 2 tablespoons poultry seasoning (or seasoning of choice)
- ½ teaspoon salt, plus more if desired
- ½ teaspoon black pepper, plus more if desired
- 2 teaspoons baking powder
Instructions
- Dry the chicken: Place a cooling rack over a large baking sheet lined with paper towels. Arrange the chicken drumsticks on the rack and tent with more paper towels. Refrigerate for at least two hours, ideally overnight, to dry the skin thoroughly. If pressed for time, pat the chicken legs dry aggressively with paper towels.
- Preheat the oven: Set your oven to 400°F (200°C). Remove the paper towels from the cooling rack and spray the rack with non-stick cooking spray to prevent sticking.
- Prepare the seasoning: In a large mixing bowl, combine olive oil, poultry seasoning, salt, black pepper, and baking powder. Add the chicken legs and gently toss, preferably using your hands, to evenly coat each piece with the seasoning mixture.
- Bake the chicken: Arrange the seasoned chicken legs on the sprayed cooling rack, leaving space between each piece to allow hot air to circulate. Bake in the preheated oven for 35-40 minutes or until a digital meat thermometer inserted into the thickest part registers 165°F (74°C).
- Rest before serving: Remove the chicken legs from the oven and let them rest for 5 minutes to allow juices to redistribute before serving for the crispiest and juiciest results.
Notes
- Store any leftovers in an airtight container in the refrigerator for 3-4 days.
- Patting the chicken dry thoroughly is crucial for a crispy skin.
- If you do not have poultry seasoning, substitute with your favorite blend such as a mix of thyme, sage, rosemary, and marjoram.
- Using baking powder helps to draw moisture out of the skin, aiding the crisping process, so do not omit it.
Nutrition
- Serving Size: 1 chicken leg (approx. 3.5 ounces)
- Calories: 220
- Sugar: 0g
- Sodium: 320mg
- Fat: 14g
- Saturated Fat: 3.5g
- Unsaturated Fat: 9g
- Trans Fat: 0g
- Carbohydrates: 1g
- Fiber: 0g
- Protein: 22g
- Cholesterol: 90mg

