This Easy Cherry Cobbler is your ticket to dessert happiness with minimal fuss—just a bowl, a whisk, and luscious fresh cherries baked until bubbly beneath a golden, tender topping. Whether you’re a lifelong cobbler fan or just after something delightfully homey, this recipe delivers big, juicy flavor and pure comfort with practically zero stress.
Why You’ll Love This Recipe
- Unbelievably Simple: Just one bowl, one pan, and a few minutes of prep before it’s bubbling away in the oven.
- Crowd-Pleasing Flavor: Sweet, jammy cherries peek through a golden, buttery crust—summer perfection in every bite.
- Versatility: Easily swap in your favorite stone fruit or berries for endless fresh cobbler combinations.
- Cozy Nostalgia: Every spoonful brings that classic, old-fashioned cobbler comfort you crave (with a modern shortcut or two).

Ingredients You’ll Need
This Easy Cherry Cobbler is built on a handful of simple staples, but each one plays a big role—think juicy cherries for vibrant color and flavor, and a handful of pantry basics that come together for the perfect cobbler blanket. Gather these essentials and you’re halfway to dessert bliss!
- Fresh sweet cherries: The star of the show! Go for dark, plump cherries for maximum natural sweetness and gorgeous color. Pit and halve for juicy pockets in every bite.
- Unsalted butter: Melted straight in the baking dish, the butter creates a rich, golden crust as the cobbler bakes—don’t skip this step!
- All-purpose flour: This keeps the batter light and helps everything bake up tender. Spoon and level for accuracy.
- Granulated sugar: Sweetens both the cherries and the batter; you can adjust based on your fruit’s natural sweetness or swap in coarse sugar for a sparkly top.
- Baking powder: Just a teaspoon gives your cobbler rise and fluffiness. Skip it only if using self-rising flour.
- Salt: A touch balances out all those sweeter flavors—don’t overlook it!
- Whole milk (or non-dairy alternative): Lends creaminess and creates a pourable batter; whole milk is best, but almond or oat works beautifully too.
- Pure vanilla extract: Amplifies the cherries’ sweetness and makes your kitchen smell divine.
- Almond extract: Optional but highly recommended for a classic bakery-style cherry flavor—sub lemon zest if you prefer.
- Coarse sugar (optional): A little sprinkle on top means extra sparkle and crunch when serving.
Variations
The beauty of Easy Cherry Cobbler is how customizable it is—swap fruits, adjust the sweetness, or even change up the batter for whatever’s in your pantry. Here are some standout ways to tweak this cozy dessert to make it entirely your own:
- Mixed Berries Medley: Replace cherries with blueberries, blackberries, or raspberries for a tart, colorful spin that’s every bit as juicy.
- Almond-Lemon Twist: Omit almond extract and stir in a teaspoon of lemon zest to boost brightness and complement the cherries’ natural flavor.
- Gluten-Free Cobbler: Use a good-quality gluten-free all-purpose flour blend in place of regular flour for a treat everyone can share.
- Sour Cherry Upgrade: If using sour cherries, just bump up the sugar to 1 cup for perfect sweetness—no other changes necessary!
- Vegan-Friendly Version: Sub in your favorite plant-based butter and nondairy milk to keep this dessert totally dairy-free without sacrificing texture.
How to Make Easy Cherry Cobbler
Step 1: Melt the Butter and Prep Your Pan
Set your oven to 350°F (177°C). Place your butter pieces directly into your baking dish—whether it’s a pie pan, square baking dish, or your favorite cast iron skillet. Slide it into the oven while it preheats, letting the butter gently melt and coat the pan for maximum flavor and the ultimate buttery crust.
Step 2: Whisk Up the Quick Batter
In a large mixing bowl (ideally one with a pour spout), whisk together your flour, granulated sugar, baking powder, and salt. Pour in the milk, vanilla extract, and almond extract, then whisk again until your batter is completely smooth with no lumps. This simple batter forms the magic cobbler topping—creamy, light, and barely sweet.
Step 3: Layer the Cherries and Batter
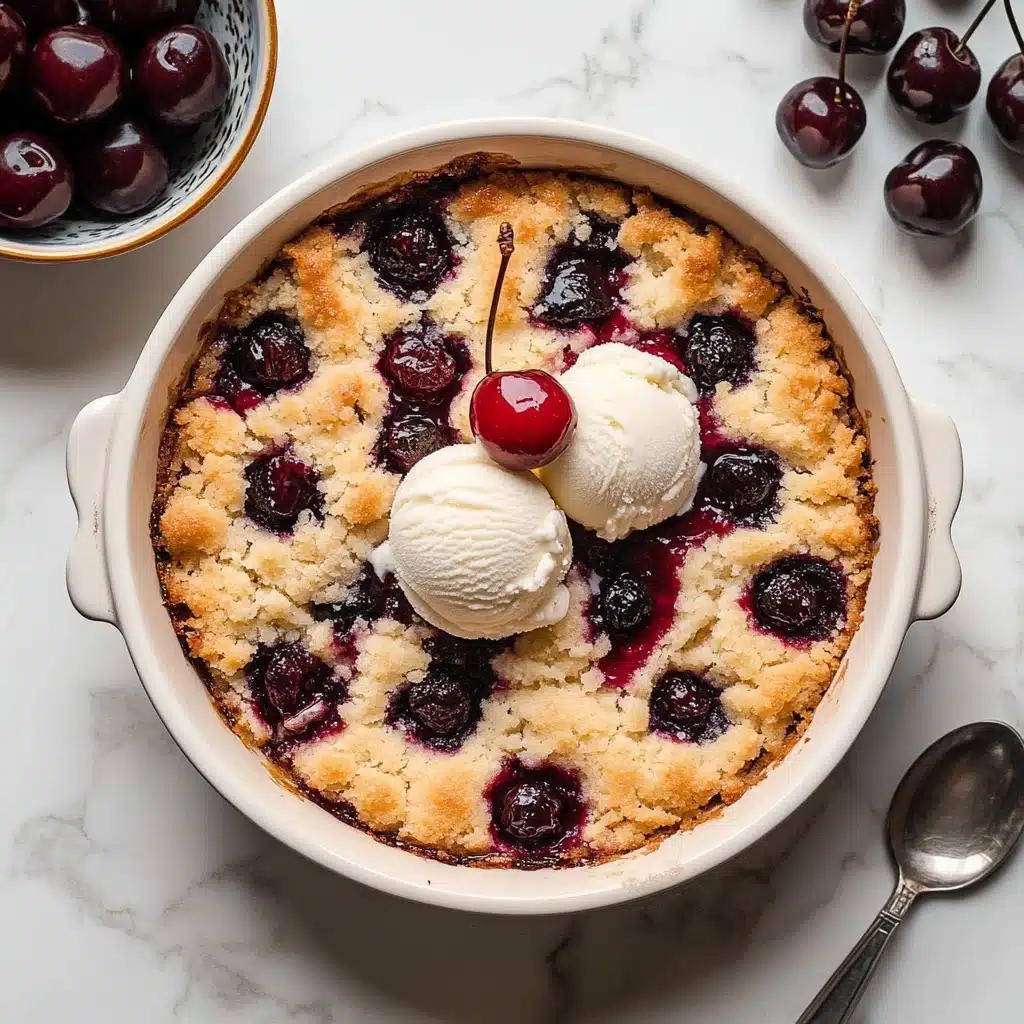
Once the butter is melted, carefully remove your hot pan from the oven. Scatter your halved cherries evenly over the melted butter so every bite pops with fruit. Then pour the batter evenly on top of the cherries, smoothing out as needed. For a bakery-style finish, sprinkle the top with coarse sugar if you’re using it.
Step 4: Bake to Golden Perfection
Slide the pan back into your oven and bake for 55–60 minutes. You’ll know it’s done when the cobbler is puffed and golden with deeply jammy edges; a toothpick poked into the center should come out with just a few moist crumbs. If the top is browning too fast, loosely tent it with foil about halfway through so it finishes cooking evenly.
Step 5: Cool (Briefly!) and Serve
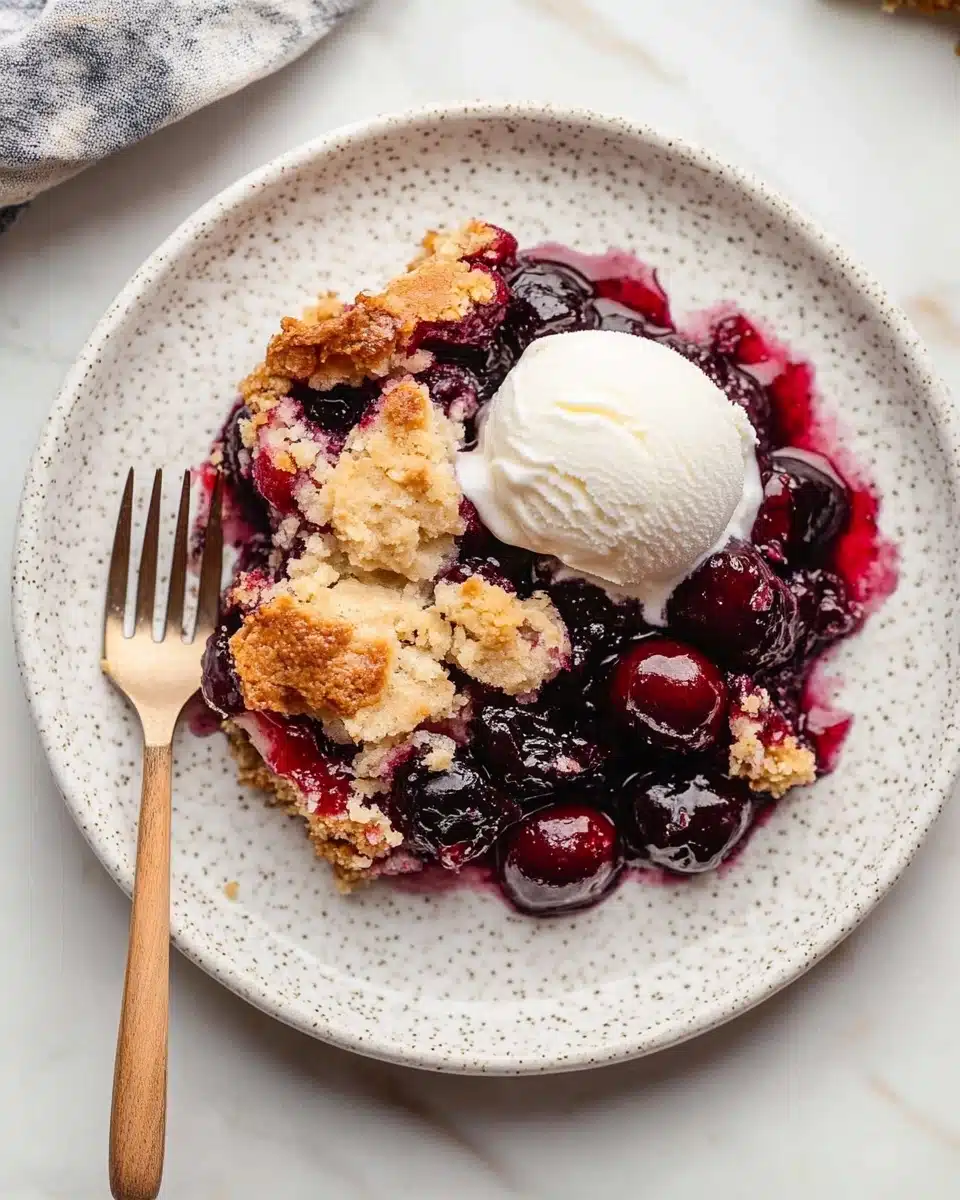
Let your Easy Cherry Cobbler cool on a wire rack for 5 minutes before digging in—the filling thickens slightly and every scoop will have the perfect ratio of warm cherry juiciness to buttery crust. Serve and watch it disappear!
Pro Tips for Making Easy Cherry Cobbler
- Cherry Prep Like a Pro: If you’re using fresh cherries, invest in a cherry pitter—your hands (and sanity) will thank you, especially if you want every bite of cobbler fruit-packed.
- Don’t Thaw Frozen Cherries: If opting for frozen cherries, add them straight from the freezer for best results. The bake will need an extra 5–10 minutes, and the filling will still be perfectly juicy.
- Crust Perfection: Let your batter spread naturally over the fruit—no need to fuss with swirling. The magical “self-layering” is part of what makes cobbler so charming!
- The Toothpick Test: For just-right doneness, poke the center; look for a few moist crumbs but no raw batter. Cover with foil if browning too quickly but the center isn’t set yet.
How to Serve Easy Cherry Cobbler
Garnishes
Dress up each serving with a generous scoop of vanilla ice cream (classic!), a dollop of softly whipped cream, or even a drizzle of sweetened condensed milk for old-fashioned flair. For a hint of freshness, top with a handful of sliced almonds or a sprinkle of lemon zest—both play beautifully with the cherries.
Side Dishes
This Easy Cherry Cobbler truly stands on its own, but it also makes a wonderful finish after a summer barbecue, a simple roast chicken dinner, or even brunch. Pair it with coffee or a tart lemonade for a refreshing contrast to the cobbler’s sweetness.
Creative Ways to Present
For special occasions, bake the cobbler in individual ramekins or mini cast iron pans for that “just for you” feel. If serving at a picnic, let it cool, then cut into squares for easy, handheld treats. Don’t be afraid to add a dusting of powdered sugar or a scattering of edible flowers for a touch of whimsy and color.
Make Ahead and Storage
Storing Leftovers
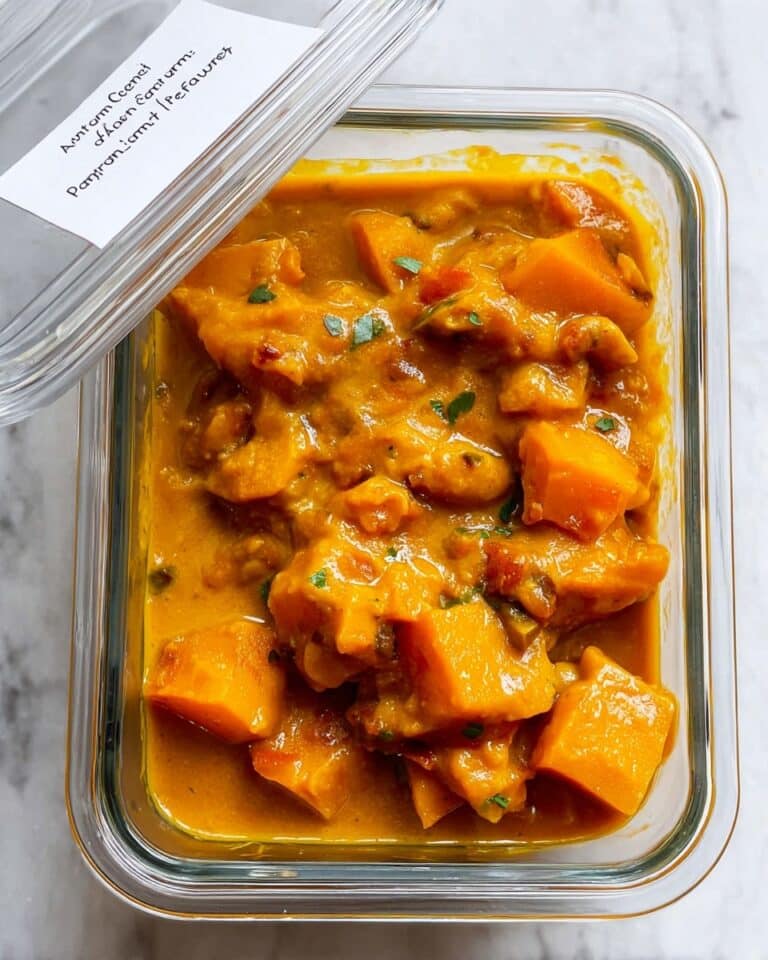
Cover leftover Easy Cherry Cobbler tightly in its original baking dish or transfer to an airtight container. Store in the refrigerator for up to five days—the cobbler is still delicious after day one, though the topping softens just a bit over time.
Freezing
To freeze, let the baked cobbler cool completely. Wrap tightly in plastic and foil, or portion into freezer-safe containers. The cobbler stays fresh for up to three months—just remember to thaw overnight in the fridge before reheating for best texture.
Reheating
Warm leftover cobbler in a 300°F (149°C) oven, covered with foil, for about 20 minutes or until heated through. For a quick treat, individual servings can be microwaved for 30–60 seconds (just make sure to use a microwave-safe dish!). Ice cream on top is always encouraged.
FAQs
-
Can I use canned or jarred cherries instead of fresh for Easy Cherry Cobbler?
Yes—if using canned cherries, be sure to drain them well before adding, and adjust the sugar if the fruit is packed in syrup. Jarred sour cherries also work, just increase the sugar per the recipe notes.
-
My cobbler isn’t browning evenly on top. How do I fix this?
If you notice uneven browning or the crust is getting too dark, loosely tent the dish with aluminum foil about halfway through baking. This lets the inside finish cooking gently while keeping the top a beautiful golden color.
-
Can I make Easy Cherry Cobbler in advance?
The cobbler is best baked and served fresh, as the batter shouldn’t sit after mixing. But you can absolutely pit and halve your cherries in advance and keep them chilled—this will make assembly a snap when you’re ready to bake.
-
What’s the best way to pit cherries quickly?
A cherry pitter is your best friend for this task. If you don’t have one, you can use a sturdy straw or even a chopstick to push the pits out. To save time, pit cherries over a bowl to catch the juices and minimize mess.
Final Thoughts
If you’re craving something cozy, effortless, and guaranteed to delight, this Easy Cherry Cobbler is your new go-to. Give it a try for your next gathering, family dinner, or just because—the hardest part is waiting for it to cool before digging in!
Print
Easy Cherry Cobbler Recipe
- Prep Time: 15 minutes
- Cook Time: 55 minutes
- Total Time: 1 hour, 10 minutes
- Yield: serves 8
- Category: Baking
- Method: Oven
- Cuisine: American
- Diet: Vegetarian
Description
Indulge in this delightful Easy Cherry Cobbler that is bursting with the sweet flavors of fresh cherries. A buttery, tender base topped with juicy cherries makes for a perfect summer dessert.
Ingredients
Fresh Cherry Filling:
4 cups (560-660g) fresh sweet cherries, pitted and halvedCobbler Batter:
6 Tablespoons (85g) unsalted butter, 1 cup (125g) all-purpose flour, 3/4 cup (150g) granulated sugar, 1 teaspoon baking powder, 1/4 teaspoon salt, 1 cup (240ml) whole milk, 1 teaspoon pure vanilla extract, 1/4 teaspoon almond extract, optional: 1-2 Tablespoons coarse sugar for sprinklingInstructions
- Preheat and Melt Butter: Preheat the oven to 350°F (177°C). Place butter in baking dish to melt.
- Make Batter: Whisk flour, sugar, baking powder, and salt. Add milk, vanilla, and almond extract; whisk until smooth.
- Layer and Bake: Spread cherries over melted butter, pour batter over cherries, sprinkle with sugar. Bake for 55–60 minutes.
- Cool and Serve: Cool for 5 minutes on a wire rack before serving.
Notes
- I do not recommend preparing and refrigerating the unbaked cobbler due to potential texture issues.
- Baked cobbler freezes well for up to 3 months. Thaw overnight in the refrigerator and reheat in a 300°F (149°C) oven.
Nutrition
- Serving Size: 1 slice
- Calories: Approx. 280
- Sugar: Approx. 20g
- Sodium: Approx. 160mg
- Fat: Approx. 10g
- Saturated Fat: Approx. 6g
- Unsaturated Fat: Approx. 4g
- Trans Fat: 0g
- Carbohydrates: Approx. 45g
- Fiber: Approx. 2g
- Protein: Approx. 4g
- Cholesterol: Approx. 25mg
