If you love bite-sized treats that pack a flavorful punch, you are going to adore this Mini Pecan Pies in Mini Muffin Pan Recipe. These little gems are perfect for parties, holiday gatherings, or just an everyday sweet fix that’s easy to whip up and irresistible to eat. I absolutely love how these mini pies capture the rich, gooey filling and crunchy pecan topping all in a perfectly sized mini muffin pan. Ready to dive in and make your kitchen smell amazing? Let’s get started!
Why You’ll Love This Recipe
- Perfectly Portion-Controlled: Each mini pie is a tidy little treat, so sharing (or not!) is easy.
- Quick and Easy: Using a mini muffin pan speeds up baking and keeps things simple in the kitchen.
- Crowd-Pleaser: The sweet, nutty filling with flaky crusts never fail to impress family and friends alike.
- Make-Ahead Friendly: You can prep these ahead of time and bake fresh when guests arrive or your sweet tooth calls.

Ingredients You’ll Need
These ingredients come together harmoniously—the buttery crust, rich pecan filling, and just the right amount of sweetness. When shopping, fresh pecans will make a big difference in flavor, so try to find them if you can.
- Pie crust dough: Using store-bought pie dough saves time—I personally like rolling it out slightly thinner for these mini pies so they don’t overwhelm the filling.
- Chopped pecans: Fresh, crunchy pecans give the best texture; toast them lightly to enhance flavor if you like.
- Light corn syrup: This is key for that signature pecan pie gooeyness and shine.
- Brown sugar: Adds depth and caramel notes that balance the richness perfectly.
- Egg: Helps bind the filling and adds creaminess.
- Unsalted butter: Melts into the filling for richness and flavor.
- Vanilla extract: Just a splash brings out all the warmth and sweetness.
- Salt: A pinch enhances all the other flavors wonderfully.
Variations
What I really enjoy about the Mini Pecan Pies in Mini Muffin Pan Recipe is how easy it is to make it your own. Whether you like to switch up the nuts, add some bourbon for a grown-up twist, or even try a different crust, the possibilities are endless!
- Bourbon Pecan Pies: I once stirred in a tablespoon of bourbon into the filling — my family went crazy! The boozy warmth adds a complex flavor that pairs beautifully with pecans.
- Mixed Nuts: Swap half the pecans for walnuts or almonds to change up the crunch and flavor.
- Gluten-Free Crust: Use a gluten-free pie crust dough and make sure all other ingredients align with your dietary needs.
- Maple Syrup Twist: Substitute maple syrup for corn syrup in the filling for an earthy, sweet change that’s especially great in fall.
How to Make Mini Pecan Pies in Mini Muffin Pan Recipe
Step 1: Prep Your Mini Muffin Pan and Crust
Start by preheating your oven to 350°F (177°C). Lightly grease your mini muffin pan so the pies slide out easily after baking—trust me, this little step saves you major headaches. Next, roll out your pie crust dough just enough to fit inside each mini muffin well. I like to cut rounds slightly larger than the openings so the crust edges curl up perfectly to hold the filling.
Step 2: Make the Pecan Pie Filling
In a mixing bowl, whisk together the corn syrup, brown sugar, beaten egg, melted butter, vanilla extract, and a pinch of salt until everything’s smooth and well combined. Stir in the chopped pecans last, folding gently to coat them evenly. This filling is thick and rich, so don’t worry—it bakes into that gooey texture we all love.
Step 3: Assemble Your Mini Pies
Press the pie crust rounds firmly into each cup of the muffin pan, making sure the edges are snug but not stretched too thin. Fill each crust about three-quarters full with the pecan filling—this prevents overflows but still gives a nice dome shape. This is the fun part where the kitchen smells heavenly already!
Step 4: Bake and Cool
Bake the mini pies for about 18-22 minutes, or until the filling is set and the crust is golden brown. I like to keep a close eye after the 15-minute mark, as ovens vary and you don’t want them to burn. Once out, let them cool in the pan for 10 minutes before carefully transferring to a wire rack to cool fully—this helps the filling set up beautifully.
Pro Tips for Making Mini Pecan Pies in Mini Muffin Pan Recipe
- Don’t Overfill Your Crusts: Filling your crusts about 3/4 full avoids the filling bubbling over and keeps the crust edges crisp.
- Use Fresh Pecans: Toast pecans lightly before mixing them in for a boost in flavor and crunch.
- Let Pies Cool Completely: This helps the filling set and prevents it from oozing out when you take a bite.
- Grease the Pan Well: I learned the hard way—use non-stick spray or brush with melted butter so the minis pop out easily without breaking.
How to Serve Mini Pecan Pies in Mini Muffin Pan Recipe
Garnishes
I love topping these mini pecan pies with a dollop of fresh whipped cream or a drizzle of caramel sauce for an extra touch of indulgence. Sometimes a sprinkle of powdered sugar or chopped pecans adds great visual appeal and texture crunch.
Side Dishes
When serving, I like to pair these minis with a scoop of vanilla bean ice cream or alongside a warm cup of coffee or spiced tea. They’re also fantastic with a fresh fruit salad that balances all that richness.
Creative Ways to Present
For special occasions, I’ve arranged these mini pies on a tiered dessert stand, which makes them look so festive and inviting. Wrapping each in a tiny parchment cupcake liner adds a neat touch and helps guests grab and go at parties.
Make Ahead and Storage
Storing Leftovers
Leftover mini pecan pies keep beautifully at room temperature for up to two days when stored in an airtight container. I usually tuck mine in a single layer, separated by parchment, to keep the crusts crisp and the filling intact.
Freezing
If you want to save some for later, these mini pies freeze well. Wrap each pie individually in plastic wrap and place in a freezer-safe container or bag. When I’ve done this, they keep their texture and flavor for up to 3 months.
Reheating
To reheat frozen or refrigerated mini pecan pies, I gently warm them in a 325°F oven for about 8-10 minutes to refresh the crust without drying out the filling. You can also microwave briefly, but the oven method keeps that beautiful texture.
FAQs
-
Can I use homemade pie crust for this mini pecan pie recipe?
Absolutely! Homemade pie crust works wonderfully if you have a favorite recipe. Just remember to roll it out evenly and keep it chilled so it’s easier to cut and shape into your mini muffin cups.
-
Is there a substitute for corn syrup in this recipe?
Yes, you can substitute light corn syrup with an equal amount of honey or maple syrup if preferred. Keep in mind the flavor will change slightly, adding more floral or earthy notes to your filling.
-
How long do mini pecan pies last after baking?
When stored properly in an airtight container at room temperature, they last up to 2 days. For longer storage, freeze them as outlined above.
-
Can I prepare mini pecan pies ahead of time and bake later?
Yes! Assemble the pies and keep them covered in the fridge for up to 24 hours before baking. This makes it super convenient for holiday prep or unexpected guests.
Final Thoughts
This Mini Pecan Pies in Mini Muffin Pan Recipe holds a special place in my kitchen rotation because it manages to feel festive and fancy without a ton of fuss. Whether you’re making these for a crowd or just sneaking one (or three!) after dinner, they never disappoint. I hope you’ll find as much joy in baking and sharing these as I have — trust me, your taste buds will thank you!
Print
Mini Pecan Pies in Mini Muffin Pan Recipe
- Prep Time: 20 minutes
- Cook Time: 10 minutes
- Total Time: 45 minutes
- Yield: 8 donuts
- Category: Breakfast / Dessert
- Method: Baking
- Cuisine: American
Description
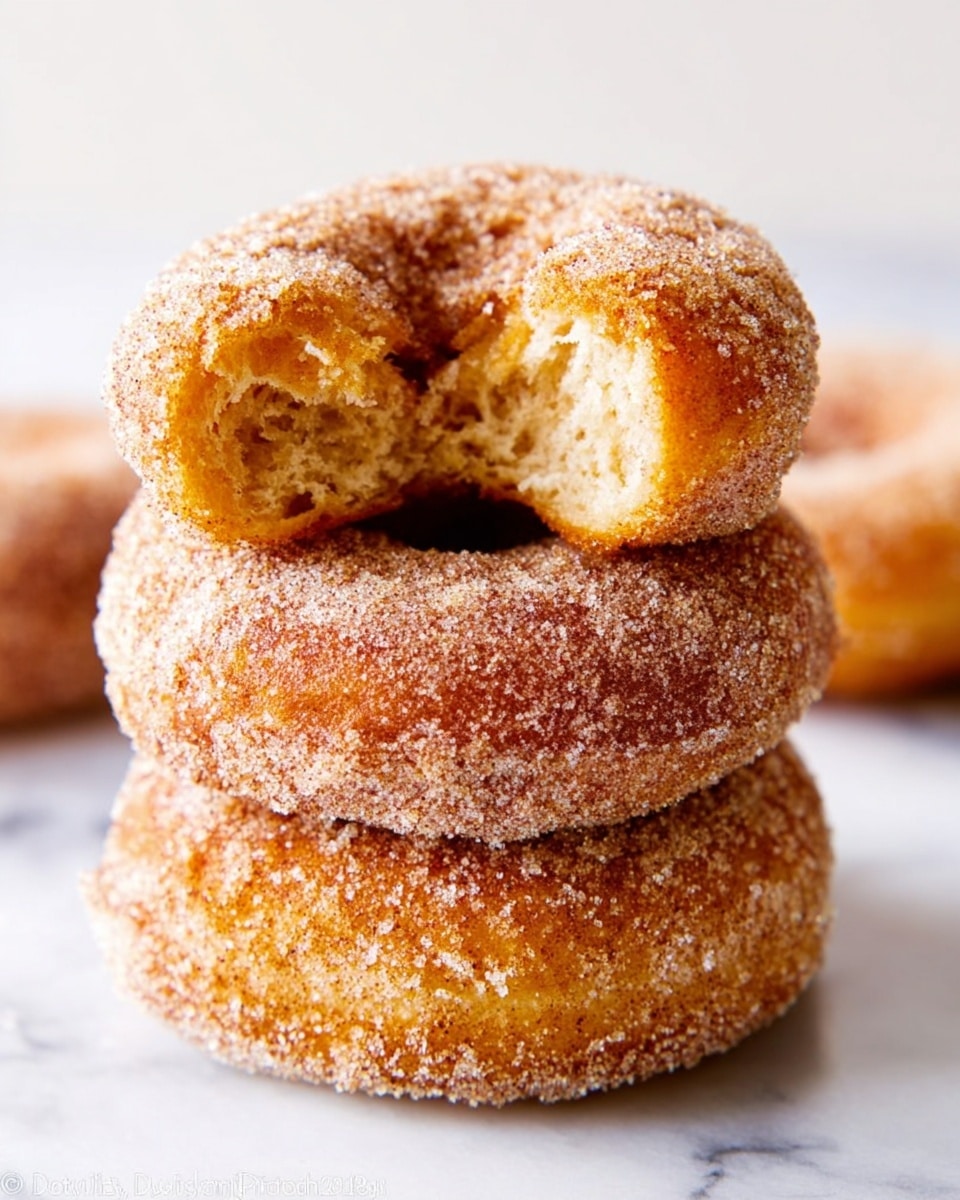
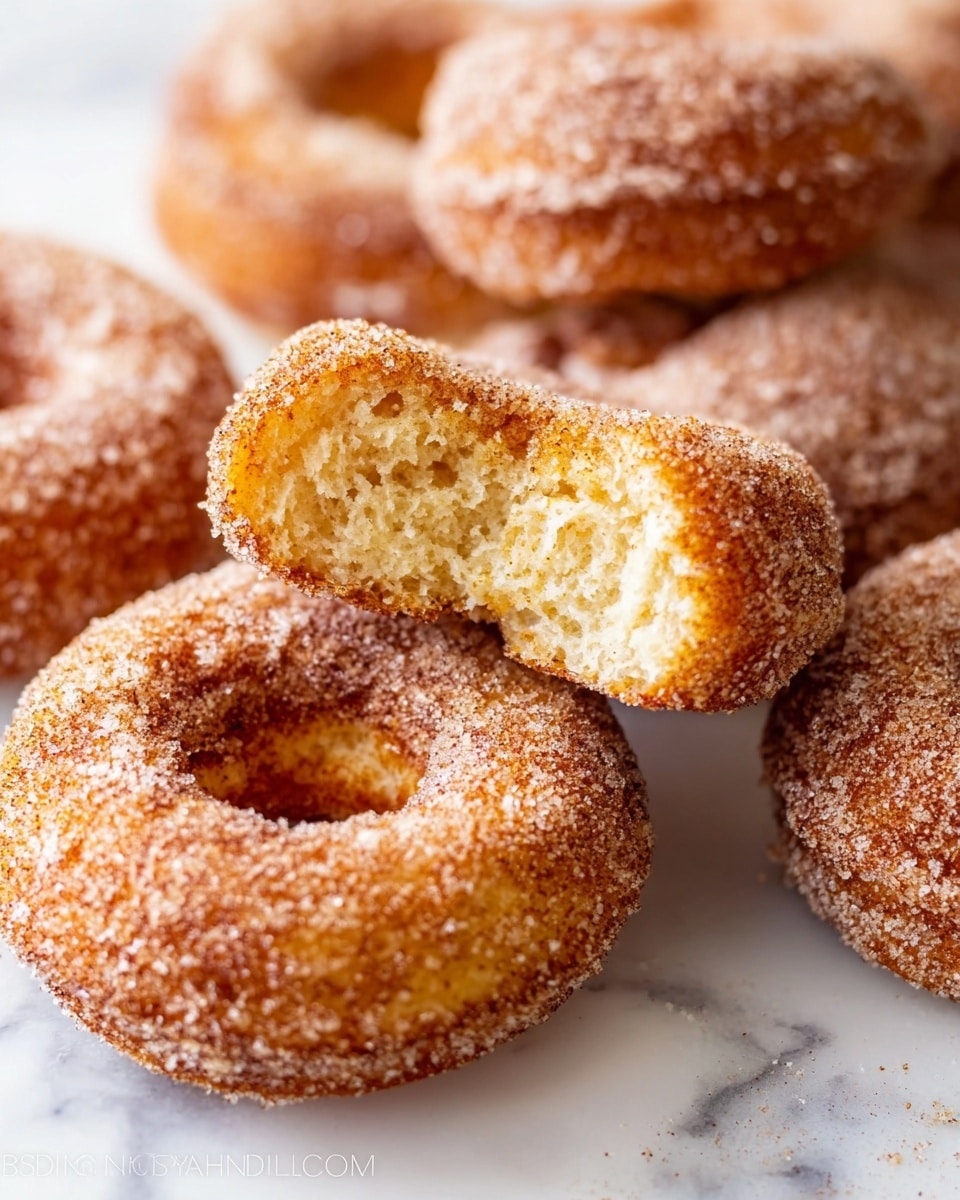
These Baked Cinnamon Sugar Donuts are a delightful treat, combining a soft, moist interior with a sweet and crunchy cinnamon sugar coating. Perfect for a cozy breakfast or an indulgent snack, these donuts are made easily with common pantry ingredients and baked to perfection instead of fried, making them a lighter alternative to traditional donuts.
Ingredients
Dry Ingredients
- 1 cup (125g) all-purpose flour (spooned & leveled)
- 1 teaspoon baking powder
- 1/4 teaspoon baking soda
- 1/2 teaspoon salt
- 1/2 teaspoon ground cinnamon
- 1/4 teaspoon ground nutmeg
Wet Ingredients
- 1 large egg, at room temperature
- 1/3 cup (65g) packed light brown sugar
- 1/4 cup (60ml) milk
- 1/4 cup (60g) yogurt
- 2 tablespoons (28g) unsalted butter, melted
- 1 and 1/2 teaspoons pure vanilla extract
Topping
- 1 cup (200g) granulated sugar
- 1 teaspoon ground cinnamon
- 1/2 cup (8 tablespoons; 113g) unsalted butter, melted
Instructions
- Preheat and Prepare Pan: Preheat your oven to 350°F (177°C). Lightly spray a donut pan with non-stick spray to ensure the donuts will release easily after baking.
- Mix Dry Ingredients: In a medium bowl, whisk together the all-purpose flour, baking powder, baking soda, salt, ground cinnamon, and ground nutmeg until evenly combined. Set this mixture aside.
- Combine Wet Ingredients: In another bowl, whisk the egg and light brown sugar until smooth. Add the milk and yogurt, whisking to incorporate. Stir in the melted unsalted butter and vanilla extract until the mixture is fully blended.
- Combine Wet and Dry Mixtures: Pour the wet ingredients into the bowl with the dry ingredients. Mix gently until just combined to avoid overmixing; the batter will be thick and a bit dense.
- Fill Donut Pan: Transfer the batter to a large zip-top plastic bag and cut a small corner off the bottom for piping. Pipe the batter evenly into the donut cavities, filling each about two-thirds to three-fourths full.
- Bake the Donuts: Place the pan in the oven and bake for 9-10 minutes or until the edges are lightly browned and a toothpick inserted comes out clean. Allow the donuts to cool for about two minutes before transferring them to a wire rack set over parchment paper or a baking sheet to cool further.
- Bake Remaining Batter: Repeat the filling and baking process with any remaining batter to bake another 1-2 donuts, transferring them to the wire rack to cool with the first batch.
- Prepare Cinnamon Sugar Coating: In a medium bowl, mix together the granulated sugar and ground cinnamon.
- Coat Donuts: Dip each cooled donut first into the melted butter, then immediately dunk it into the cinnamon sugar mixture, ensuring all sides are well coated for a sweet, crunchy topping.
- Serve and Store: These donuts are best enjoyed fresh and warm. Store any leftovers tightly covered at room temperature for up to 2 days.
Notes
- Waking up to fresh-baked cinnamon sugar donuts is a wonderful experience, and this recipe stands out for its simplicity and ease, allowing you to enjoy homemade donuts without the fuss or mess of frying.
- Baking the donuts instead of frying them makes them a lighter option while still delivering delicious flavor and texture.
- Use a piping bag or zip-top bag with a cut corner for easy and even filling of the donut pan cavities.
- Ensure not to overmix the batter to keep the donuts tender and soft.
Nutrition
- Serving Size: 1 donut
- Calories: 210
- Sugar: 17g
- Sodium: 190mg
- Fat: 10g
- Saturated Fat: 6g
- Unsaturated Fat: 3g
- Trans Fat: 0g
- Carbohydrates: 28g
- Fiber: 1g
- Protein: 3g
- Cholesterol: 45mg


