If you’re craving a cozy dessert but don’t want to fuss with baking, this No Bake Pumpkin Pie Recipe is about to become your new best friend. I absolutely love how easy it comes together, especially when the holidays roll around and time feels tight. You’ll find that this pie captures all those pumpkin-spice vibes, but without heating the oven — a total win for busy days or last-minute guests!
Why You’ll Love This Recipe
- No oven needed: Perfect for when you want pumpkin pie flavor without heating up your kitchen.
- Quick and simple: From mixing to chilling, you can have this pie ready in under an hour.
- Smooth and creamy texture: The filling is rich without being heavy — you’ll love every spoonful.
- Crowd-pleaser: I’ve made this for family gatherings where it disappeared in minutes!
Ingredients You’ll Need
Getting the right flavors and textures is key with this No Bake Pumpkin Pie Recipe. Each ingredient plays a part in that silky, spiced filling and a crust that holds it all together beautifully. Here are some tips I’ve picked up about the ingredients you’ll want to grab.
- Pumpkin puree: Use 100% pure pumpkin, not pumpkin pie filling, for the best fresh taste.
- Sweetened condensed milk: This gives the filling that creamy sweetness that holds everything without baking.
- Pumpkin pie spice: Don’t skimp here! Freshly mixed or your favorite blend adds that warm, cozy flavor.
- Graham cracker crust: Ready-made works great, or you can crush your own for extra texture.
- Whipped topping: The fluffiness crowns the pie and balances the spices perfectly.
Variations
I love that this No Bake Pumpkin Pie Recipe is so versatile. You can easily swap things out to suit your taste or dietary needs, making it your own. Here are a few ways I’ve played around with it to keep things exciting.
- Vegan version: Use coconut milk and dairy-free condensed milk substitutes—my vegan friends were thrilled when I tried this!
- Gluten-free crust: I sometimes swap the graham cracker crust for a gluten-free option or even a nut crust for extra crunch.
- Spice it up: Add a pinch of ginger or nutmeg to the pumpkin pie spice mix if you want a little more warmth.
- Mini pies: I’ve made this in small mason jars for individual servings—super cute for parties or gifts.
How to Make No Bake Pumpkin Pie Recipe
Step 1: Whip up the filling
Start by combining your pumpkin puree, condensed milk, and pumpkin pie spice in a bowl. I like to mix it all with a whisk until it’s smooth and well blended. This step is crucial for a creamy, silky filling with even spice distribution—no clumps! Be sure to taste a little; you can adjust sweetness or spice before you assemble.
Step 2: Prepare your crust
If you’re using a pre-made graham cracker crust, this step is a breeze. Just make sure it’s sturdy and chilled before pouring in your filling. If you’re making your own crust, press the crumbs firmly into your pie dish and chill for at least 15 minutes — this really helps it hold together when cutting slices later.
Step 3: Assemble and chill
Pour the filling into the chilled crust, smoothing out the surface with a spatula or the back of a spoon. Here’s a trick I discovered: cover the pie tightly with plastic wrap to prevent it from drying out in the fridge. Let it chill for at least 4 hours, but overnight is even better for flavors to meld and firm up perfectly.
Step 4: Add the finishing touch
Right before serving, top your pie with freshly whipped cream or your go-to store-bought option. I’ve found that lightly dusting with a sprinkle of cinnamon or nutmeg over the top not only makes it look stunning but adds an extra cozy aroma that invites everyone to dig in!
Pro Tips for Making No Bake Pumpkin Pie Recipe
- Use quality pumpkin puree: I always reach for a well-known brand or homemade puree—this really makes a difference in flavor.
- Chill properly: Don’t rush the chilling time; this helps the pie slice cleanly and boosts flavor melding.
- Avoid over-spicing: Start with the recipe’s spice amount—you can always add more after tasting!
- Cover tightly: Wrapping the pie close to the surface keeps it from drying out and forming a crust on top.
How to Serve No Bake Pumpkin Pie Recipe
Garnishes
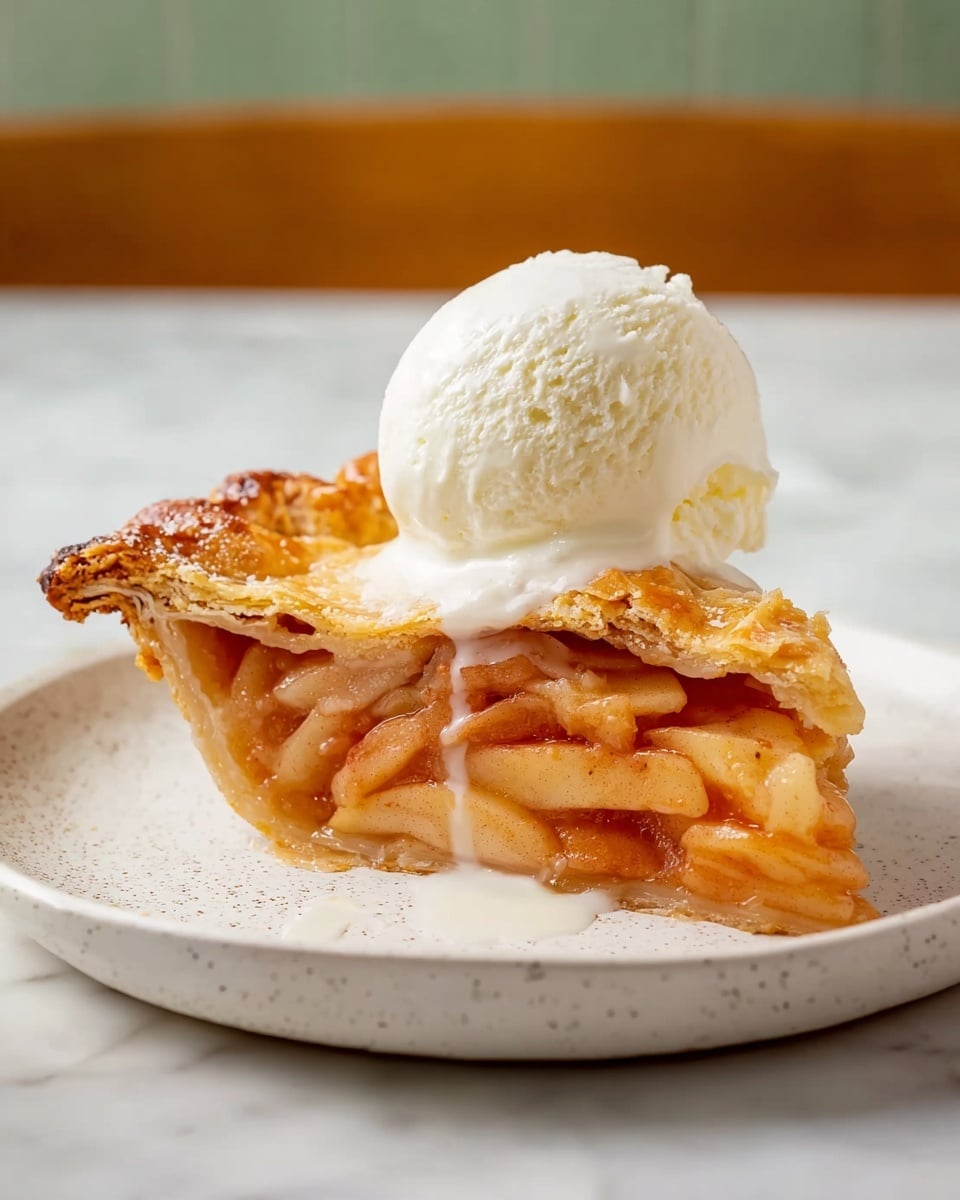
I’m a sucker for a classic whipped cream topping, but sometimes I add toasted pecans or a drizzle of caramel sauce for a little extra wow factor. If you want a hint of color and crunch, a sprinkle of finely chopped crystallized ginger or even a dusting of cinnamon sugar is absolutely delightful.
Side Dishes
This pie pairs wonderfully with a warm cup of spiced chai or coffee. For a bigger spread, try serving alongside a fresh fruit salad or a scoop of vanilla bean ice cream — my family goes crazy for that combo, especially when the weather starts to cool down.
Creative Ways to Present
For Thanksgiving or fall gatherings, I like presenting this pie in clear glass dishes so guests can admire the layers. Mini versions in mason jars make gorgeous individual servings that feel extra special and are super easy to hand out at parties. Adding a cinnamon stick as a garnish or tying a small festive ribbon around each jar also ups the charm factor.
Make Ahead and Storage
Storing Leftovers
After serving, I cover the pie tightly with plastic wrap and keep it in the fridge. It stays fresh for up to 4 days, and honestly, I’ve never had leftovers last that long! Chilling helps the texture stay firm, so every slice cuts neatly even after a few days.
Freezing
I hesitate to freeze this pie regularly because the whipped topping doesn’t hold up well, but you can freeze the filling and crust separately. When you’re ready, thaw the filling overnight and top with fresh whipped cream before serving—this way, it tastes just as good as freshly made.
Reheating
This really shines cold or at room temperature, so reheating isn’t necessary—in fact, it can affect the texture. If you do want it a bit warmer, try letting a slice sit out for 15 minutes to soften a bit before enjoying.
FAQs
-
Is this No Bake Pumpkin Pie Recipe suitable for beginners?
Absolutely! This recipe requires no baking skills at all and is perfect for anyone who wants a delicious pumpkin pie without the fuss of the oven. It’s all about simple mixing and chilling, making it beginner-friendly.
-
Can I use fresh pumpkin instead of canned pumpkin puree?
You can, but it requires cooking and pureeing your pumpkin first to get the right texture. I find canned pumpkin puree more convenient and consistently smooth, which is ideal for this no-bake filling.
-
How long does the pie need to chill before serving?
At least 4 hours, but overnight chilling is best to let the flavors meld and for the filling to set firmly, making slicing much easier.
-
Can I make this pie ahead of time for a party?
Definitely! In fact, it’s a great make-ahead dessert. Just assemble the pie the day before and keep it chilled. Add your whipped cream topping right before serving for the freshest look and taste.
-
What’s the best crust to use for a no bake pumpkin pie?
A graham cracker crust is classic and sets well without baking, providing a nice crunch that contrasts the creamy filling. You can also try an Oreo crust for a chocolate twist or make your own homemade crust.
Final Thoughts
This No Bake Pumpkin Pie Recipe has become a staple in my dessert rotation, especially during the busy fall and holiday seasons. It’s effortless, delicious, and such a crowd-pleaser that I always get asked for the recipe. If you want to enjoy pumpkin pie flavor with none of the stress or heat of baking, I highly recommend giving this a try — you’ll love how it melts in your mouth, and so will everyone you share it with!
Print
No Bake Pumpkin Pie Recipe
- Prep Time: 20 minutes
- Cook Time: 40 minutes
- Total Time: 60 minutes
- Yield: 8 servings, 1 (9-inch) pie
- Category: Dessert
- Method: Baking
- Cuisine: American
Description
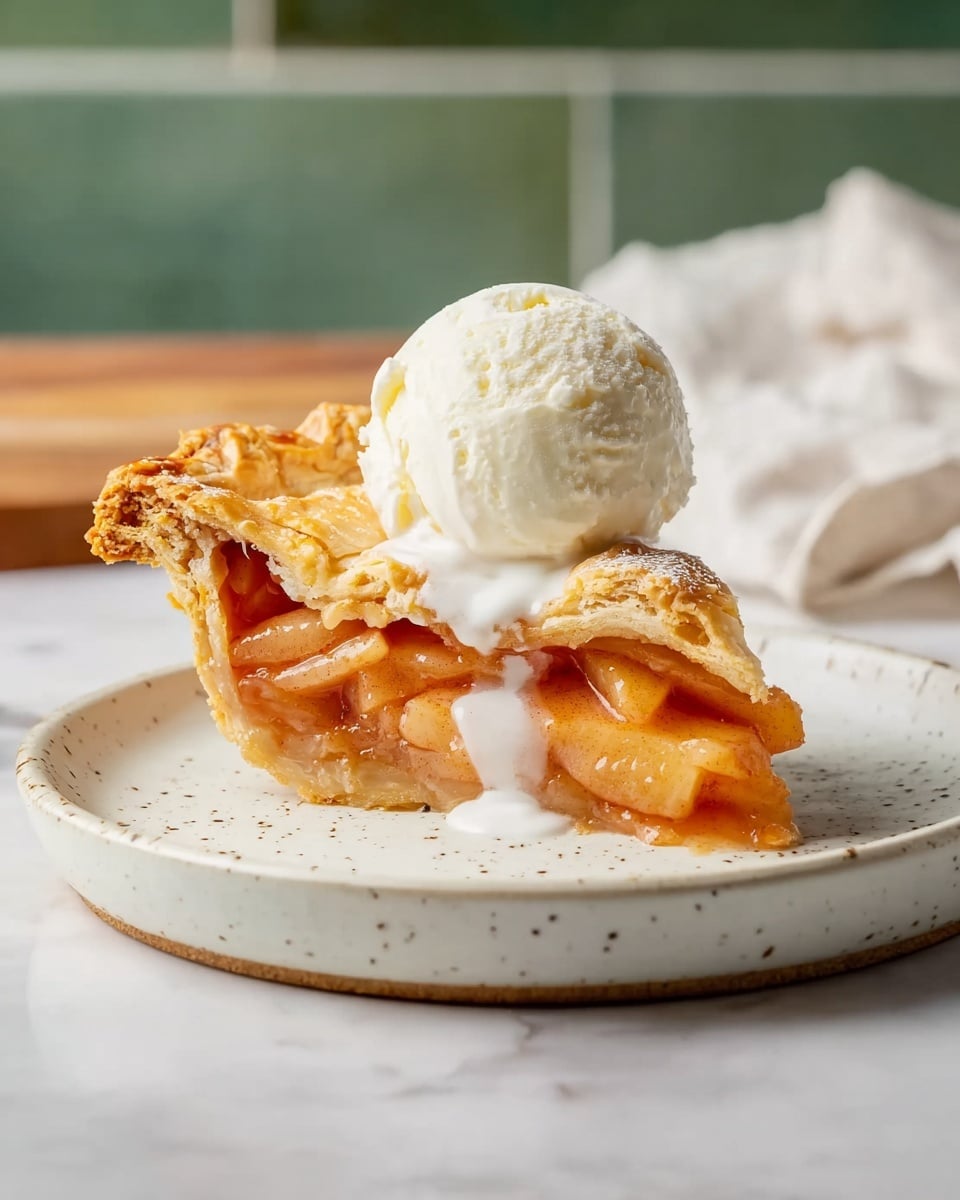
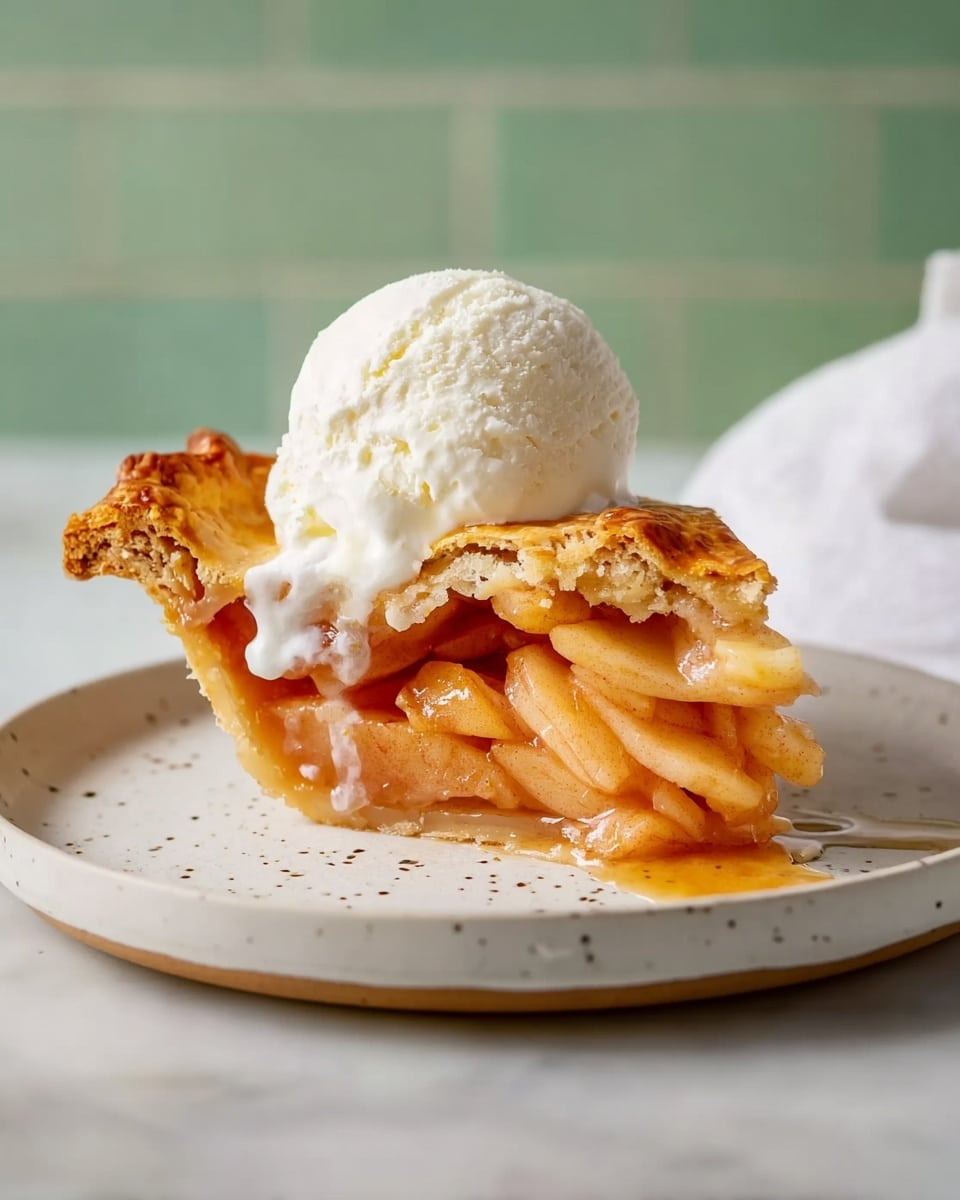
This Easy Apple Pie recipe features a classic double-crust filled with thinly sliced apples and a cinnamon-sugar mixture, baked to golden perfection. Perfectly balanced sweet and spiced flavors make it a comforting and timeless dessert ideal for any occasion.
Ingredients
Pie Crust
- 1 (14.1 ounce) package pastry for a 9-inch double-crust pie
Filling
- 6 cups thinly sliced apples
- 0.75 cup white sugar, or more to taste
- 1 teaspoon ground cinnamon
- 1 tablespoon butter
Topping
- 1 egg
- 1 tablespoon water
Instructions
- Gather Ingredients: Collect all required ingredients and preheat your oven to 450 degrees F (230 degrees C).
- Prepare Pie Crust: Line a 9-inch pie dish with one pastry crust and set the second crust aside for later use.
- Mix Sugar and Cinnamon: In a small bowl, combine 3/4 cup sugar with 1 teaspoon ground cinnamon. Adjust sugar quantity if apples are particularly tart.
- Assemble Filling: Layer the thinly sliced apples in the prepared pie dish, evenly sprinkling each layer with the cinnamon-sugar mixture for consistent flavor.
- Add Butter: Dot the top layer of apples with small pieces of butter to enhance richness during baking.
- Cover with Top Crust: Place the second pastry crust over the filling and flute the edges to seal the pie tightly.
- Apply Egg Wash: Beat 1 egg with 1 tablespoon water to create an egg wash. Brush this over the top crust for a glossy, golden finish.
- Vent the Pie: Cut several small slits in the top crust to allow steam to escape while baking, preventing sogginess.
- Initial Baking: Place the pie on the lowest oven rack and bake at 450 degrees F for 10 minutes to set the crust.
- Reduce Temperature and Continue Baking: Lower the oven temperature to 350 degrees F (175 degrees C) and bake for an additional 30 to 35 minutes until the crust is golden brown and the filling bubbles.
- Serving: Allow the pie to cool slightly, then serve warm or cold according to preference.
Notes
- This recipe is straightforward and ideal for those looking for a classic apple pie without complicated steps.
- Adjust the sugar in the cinnamon-sugar mix depending on the tartness of your apples.
- Ensure to flute and seal the edges well to prevent filling leakage during baking.
- The egg wash gives the crust an appealing golden shine and slight crispness.
- Cutting slits in the top crust is important for releasing steam and ensuring the crust stays flaky.
Nutrition
- Serving Size: 1 slice (1/8 of 9-inch pie)
- Calories: 249 kcal
- Sugar: 29 g
- Sodium: 128 mg
- Fat: 9 g
- Saturated Fat: 3 g
- Unsaturated Fat: 0 g
- Trans Fat: 0 g
- Carbohydrates: 42 g
- Fiber: 3 g
- Protein: 2 g
- Cholesterol: 4 mg

