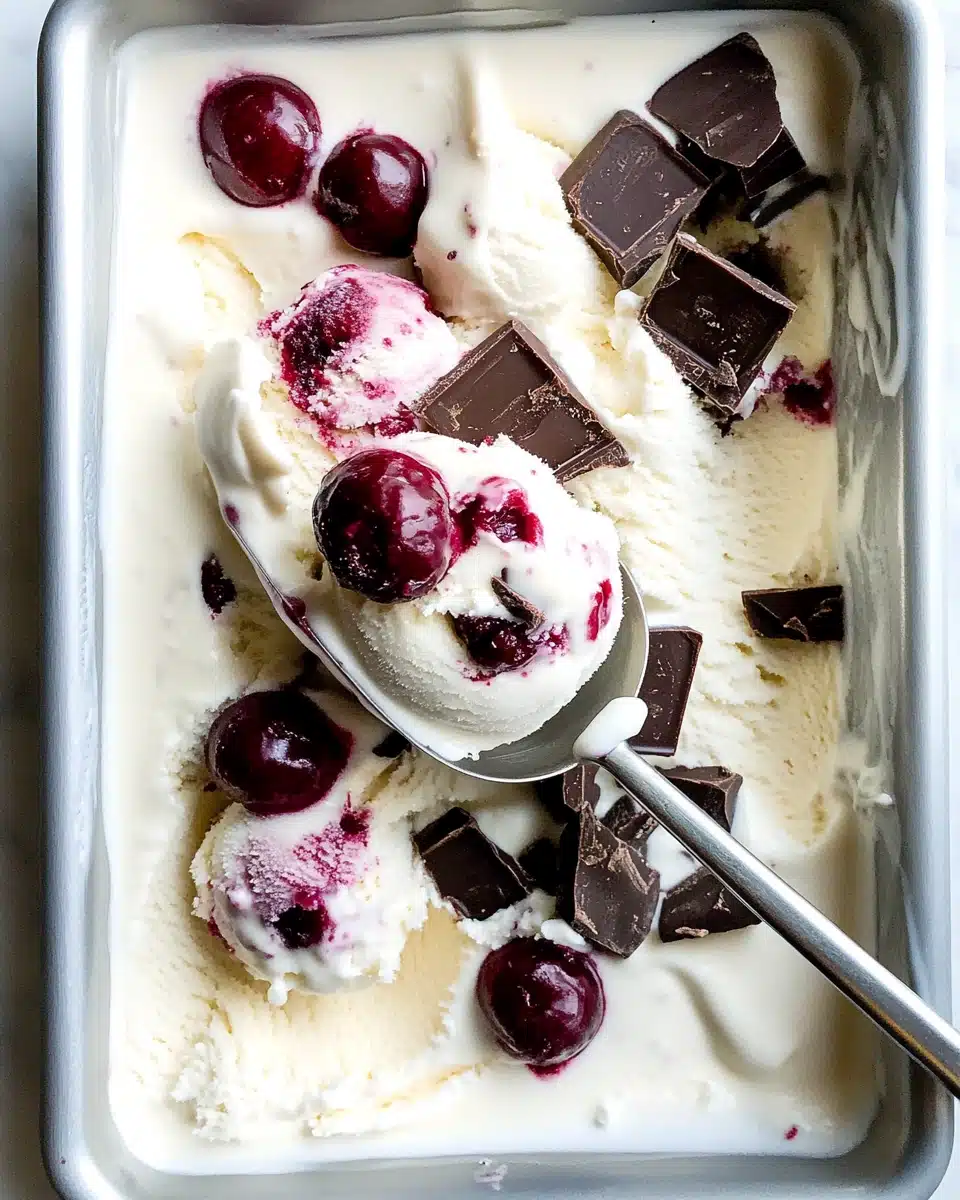
If you’re dreaming of a scoop of creamy, indulgent ice cream but don’t want to fuss with a machine, this No-Churn Chocolate Cherry Ice Cream delivers pure homemade magic—no fancy gadgets required! It’s a luscious treat packed with jammy cherries and decadent chunks of dark chocolate, all swirling through a dreamy vanilla base.
Why You’ll Love This Recipe
- No Ice Cream Maker Needed: All you need is a hand mixer and a loaf pan for truly creamy, homemade ice cream texture.
- Classic Flavor Mashup: Chocolate and cherries are a match made in dessert heaven—think Black Forest cake, but in frozen form!
- Ridiculously Easy Prep: Just a handful of ingredients, zero eggs, and twenty minutes of work—your freezer does the rest.
- Crowd-Pleasing & Elegant: Perfect for summer parties and date nights alike, everyone falls in love with homemade No-Churn Chocolate Cherry Ice Cream.
Ingredients You’ll Need
You’ll only need a few simple and reliable ingredients for this No-Churn Chocolate Cherry Ice Cream, but each one plays a deliciously important role—creating that rich flavor, dreamy texture, and eye-catching swirl.
- Whipping Cream (16 oz): The backbone of your creamy base—be sure it’s cold for maximum whip and loft.
- Sweetened Condensed Milk (10 oz can): Adds just the right amount of luscious sweetness and ensures your ice cream is scoopable straight from the freezer.
- Vanilla Extract (1 teaspoon): Enhances depth and rounds out both the chocolate and cherry flavors beautifully.
- Fresh Cherries (1 cup, pitted & chopped): Juicy, jewel-toned chunks are the star; use sweet or tart varieties depending on your personal taste.
- Dark Chocolate (1 cup, chopped or chunks): Bigger bits mean blissful chocolatey bites, but chocolate chips work well in a pinch!
Variations
One of the secret joys of No-Churn Chocolate Cherry Ice Cream is how playful you can get—don’t hesitate to use what you love or what’s in season, or even to adapt the recipe for dietary needs!
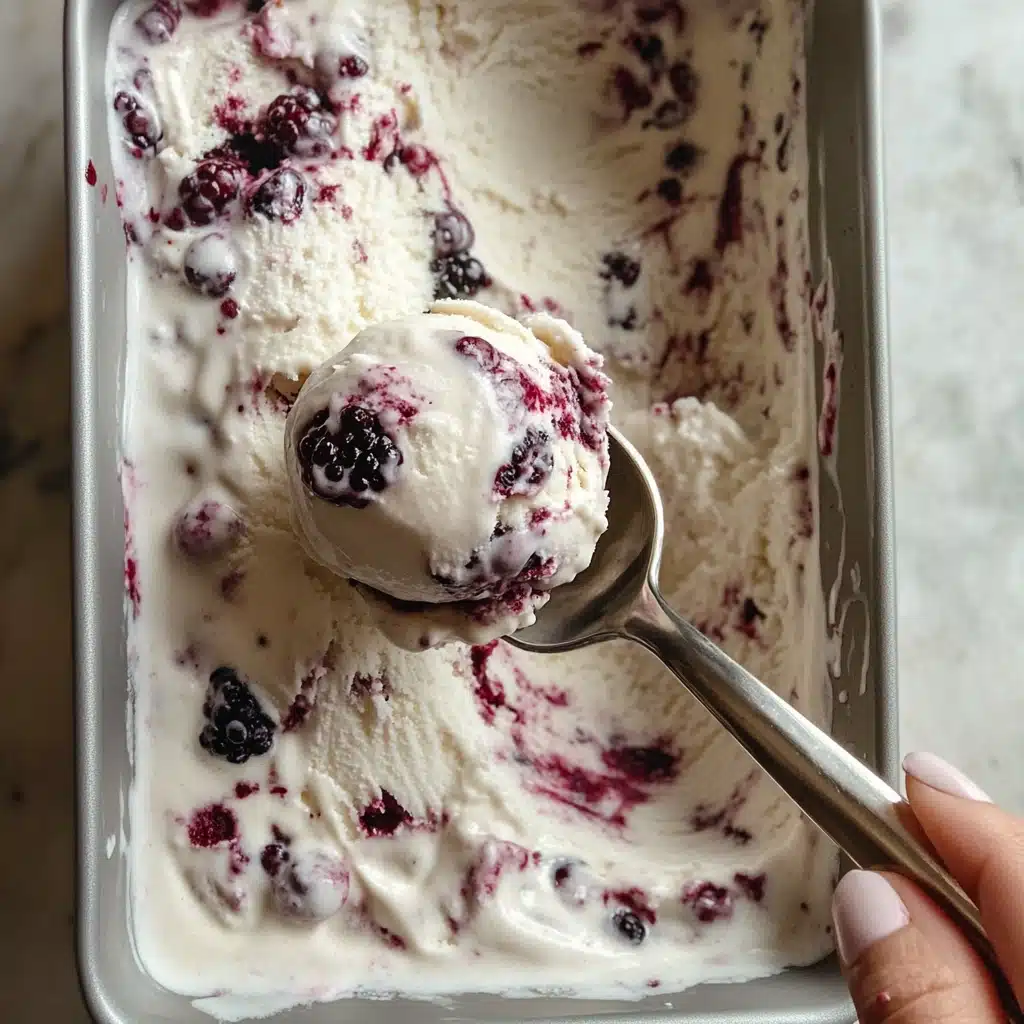
- Swap the Fruit: Try raspberries, strawberries, or even pitted chopped plums for a brand-new twist.
- Go Nutty: Stir in chopped toasted almonds or pistachios for irresistible crunch and a classic sundae vibe.
- Dairy-Free Version: Use coconut whipping cream and a vegan sweetened condensed milk to make this entirely plant-based (with vegan chocolate, of course!).
- Add a Swirl: Gently fold in ribbons of cherry preserves or fudge sauce for extra ribbons of flavor throughout.
How to Make No-Churn Chocolate Cherry Ice Cream
Step 1: Whip the Cream
Start by whipping the cold whipping cream with a hand or stand mixer until you achieve firm, beautiful peaks. This is what gives No-Churn Chocolate Cherry Ice Cream its airy, almost mousse-like foundation—don’t skimp on this step!
Step 2: Fold in the Base Ingredients
Add the sweetened condensed milk and fragrant vanilla extract to your fluffy whipped cream. Beat slowly and gently until you have a velvety, unified base. You want all the sweetness and flavor swirled evenly, but keep the mixture light—don’t overmix!
Step 3: Add Cherries and Chocolate
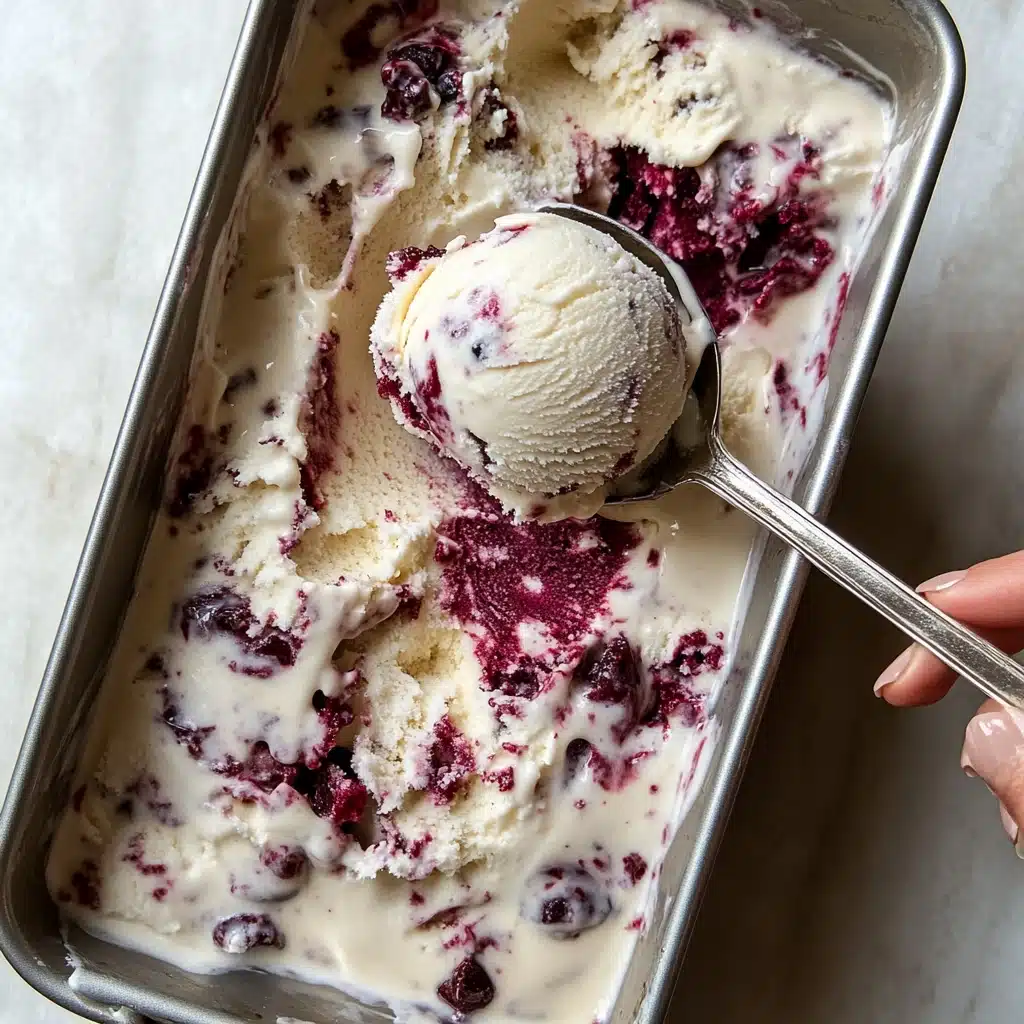
With a spatula, gently fold in the chopped cherries and dark chocolate pieces. Save a few bits of each to sprinkle on top later—trust me, this simple step makes every scoop extra gorgeous and irresistible.
Step 4: Transfer and Top
Pour your ice cream mixture into a standard 9×5-inch loaf pan, smoothing out the top with the spatula. Scatter those reserved cherries and chocolate right over the top for a showstopping finish before freezing.
Step 5: Freeze Until Set
Cover the pan tightly (plastic wrap or a lid works well), then freeze for 5 to 6 hours or until fully set. The anticipation is real, but worth it for that perfect homemade scoop.
Step 6: Scoop and Enjoy
When ready to serve, let the No-Churn Chocolate Cherry Ice Cream sit at room temperature for about 5 minutes—this softens it just enough for silky-smooth scooping. Then, serve in your favorite bowls or cones and watch everyone light up!
Pro Tips for Making No-Churn Chocolate Cherry Ice Cream
- Cold Cream is Key: For the fluffiest whipped peaks, always use cold whipping cream—chill your bowl and beaters for bonus loft.
- Cherry Prep Matters: Pat chopped cherries dry with a paper towel before folding in to prevent excess ice crystals in your finished ice cream.
- Chunk Control: Chop the chocolate large for dramatic bites or small for even dispersal—customize to your texture preference.
- Easy Scooping: Let the frozen No-Churn Chocolate Cherry Ice Cream rest a few minutes before scooping for creamiest results (no chipped spoons!).
How to Serve No-Churn Chocolate Cherry Ice Cream
Garnishes
A decadent scoop is irresistible on its own, but a scattering of extra dark chocolate shavings, a few fresh cherry halves, or even a dollop of whipped cream takes this No-Churn Chocolate Cherry Ice Cream totally over the top. For an elegant finish, try a light drizzle of raspberry sauce or chopped toasted nuts.
Side Dishes
To turn dessert into a true celebration, pair your ice cream with crisp butter cookies or tuck a scoop between warm brownies for the best-ever ice cream sandwich. It’s also stunning served with a simple almond biscotti or shortbread for some dainty crunch.
Creative Ways to Present
For parties, I love scooping this showstopping No-Churn Chocolate Cherry Ice Cream into sundae glasses, layering with extra cherries and fudge sauce for a sundae bar. Or, serve mini-scoops in chocolate-dipped waffle bowls, or let everyone build their dream cones topped with sprinkles and fresh fruit. The visual wow factor never disappoints!
Make Ahead and Storage
Storing Leftovers
Store leftover No-Churn Chocolate Cherry Ice Cream tightly covered in the freezer—either in the original loaf pan sealed with plastic wrap or transferred to an airtight container. It’ll keep beautifully for up to two weeks (if it lasts that long!).
Freezing
Because of the condensed milk, this ice cream stays scoopable and creamy straight from the freezer—no need to thaw for ages. Just be sure it’s well protected from freezeburn by covering it tightly, and enjoy within a couple of weeks for the freshest texture.
Reheating
No-reheating needed here! If your No-Churn Chocolate Cherry Ice Cream is especially hard from the freezer, just leave it on the counter for 5–10 minutes and it’ll soften up perfectly for scooping—no microwave required.
FAQs
-
Can I use frozen cherries instead of fresh?
Absolutely! Just thaw the frozen cherries and pat them dry before adding—they work beautifully in this No-Churn Chocolate Cherry Ice Cream, especially when fresh cherries are out of season.
-
How can I make this recipe lower in sugar?
If you want to reduce the sweetness, look for low-sugar or unsweetened condensed milk and use extra-dark chocolate. You can also add a handful more cherries for a naturally sweet boost!
-
Can I double the batch for a party?
Yes, this recipe easily doubles! Just use a larger container or split into two loaf pans, and increase the freezing time by an hour or two to be sure it’s fully set through the middle.
-
Why is my no-churn ice cream icy instead of creamy?
If your No-Churn Chocolate Cherry Ice Cream turns out icy, it’s usually from extra water in the fruit—always pat cherries dry, and be careful not to overmix. Also, double-check your freezer isn’t too cold; letting it sit out a bit before scooping always helps.
Final Thoughts
This No-Churn Chocolate Cherry Ice Cream is a true game-changer—ridiculously easy, deeply delicious, and just the right amount of fancy for any occasion. If you’ve never made homemade ice cream before, this is the perfect place to start. I hope you grab some cherries and chocolate, invite a friend to help (it’s more fun!), and treat yourself to a batch soon. Happy scooping!
Print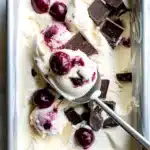
No-Churn Chocolate Cherry Ice Cream Recipe
- Prep Time: 15 minutes
- Cook Time: 0 minutes
- Total Time: 5-6 hours (including freezing)
- Yield: 6-8 servings
- Category: Dessert
- Method: Freezing
- Cuisine: American
- Diet: Vegetarian
Description
Indulge in the rich, creamy goodness of this no-churn chocolate cherry ice cream. With the perfect balance of sweet cherries and decadent dark chocolate chunks, this homemade treat will satisfy your ice cream cravings.
Ingredients
For the Ice Cream:
- 16 oz carton whipping cream
- 10 oz can sweetened condensed milk
- 1 teaspoon vanilla
- 1 cup cherries, pitted and chopped or quartered
- 1 cup dark chocolate, chopped or chunks
Instructions
- Whip the Cream: Using a hand or stand mixer, whip the cream until stiff peaks form.
- Combine Ingredients: Add sweetened condensed milk and vanilla, and mix until well incorporated.
- Add Cherries and Chocolate: Gently fold in the chopped cherries and chocolate pieces. Reserve some for topping.
- Freeze: Pour the mixture into a loaf pan, top with reserved cherries and chocolate, cover, and freeze for 5-6 hours.
- Serve: Remove from freezer, let it soften slightly, scoop into bowls or cones, and enjoy!
Notes
- You can customize this ice cream by adding nuts or different fruits.
- For a creamier texture, let the ice cream sit at room temperature for a few minutes before scooping.
Nutrition
- Serving Size: 1 serving
- Calories: 320 kcal
- Sugar: 20g
- Sodium: 80mg
- Fat: 21g
- Saturated Fat: 13g
- Unsaturated Fat: 6g
- Trans Fat: 0g
- Carbohydrates: 30g
- Fiber: 1g
- Protein: 3g
- Cholesterol: 60mg


