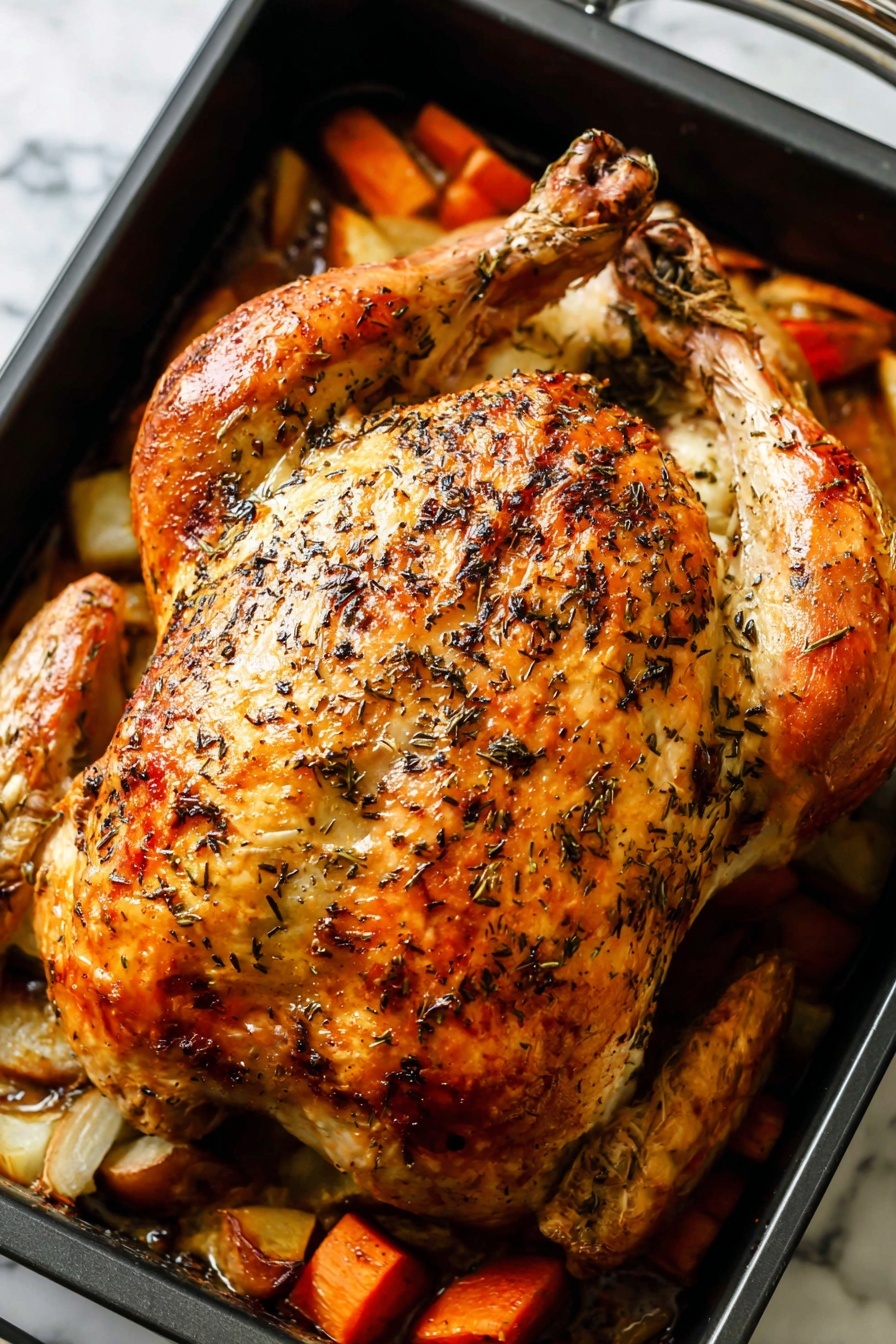
If you’ve ever felt intimidated by cooking a turkey that’s juicy and flavorful throughout, I’ve got just the thing for you: my Perfectly Juicy Dry Brine Turkey Recipe. This method transforms your turkey into a tender, savory masterpiece with very little fuss—and yes, the skin turns out beautifully crisp! I absolutely love how this turns out every single time, and I can’t wait to share the magic behind it with you. Whether it’s Thanksgiving or a special gathering, you’ll find that this dry brine technique makes a difference you can taste and see.
Why You’ll Love This Recipe
- Juiciness Every Time: The dry brine pulls moisture into the bird, locking in incredible juiciness without being salty.
- Simple Ingredients: Just kosher salt, rosemary, and lemon zest create complex, fresh flavors without a lot of hassle.
- Crispy, Golden Skin: Drying the skin overnight in the fridge means perfect crispiness when roasted.
- Reliable and Foolproof: Once you get the timing down, it’s an easy recipe that consistently delivers a show-stopping turkey.

Ingredients You’ll Need
These ingredients work like a charm because they enhance the turkey’s natural flavors while encouraging moisture retention. I recommend using fresh rosemary and real lemons for that bright, herbaceous note. Morton’s kosher salt is my go-to because it has the perfect texture for dry brining.
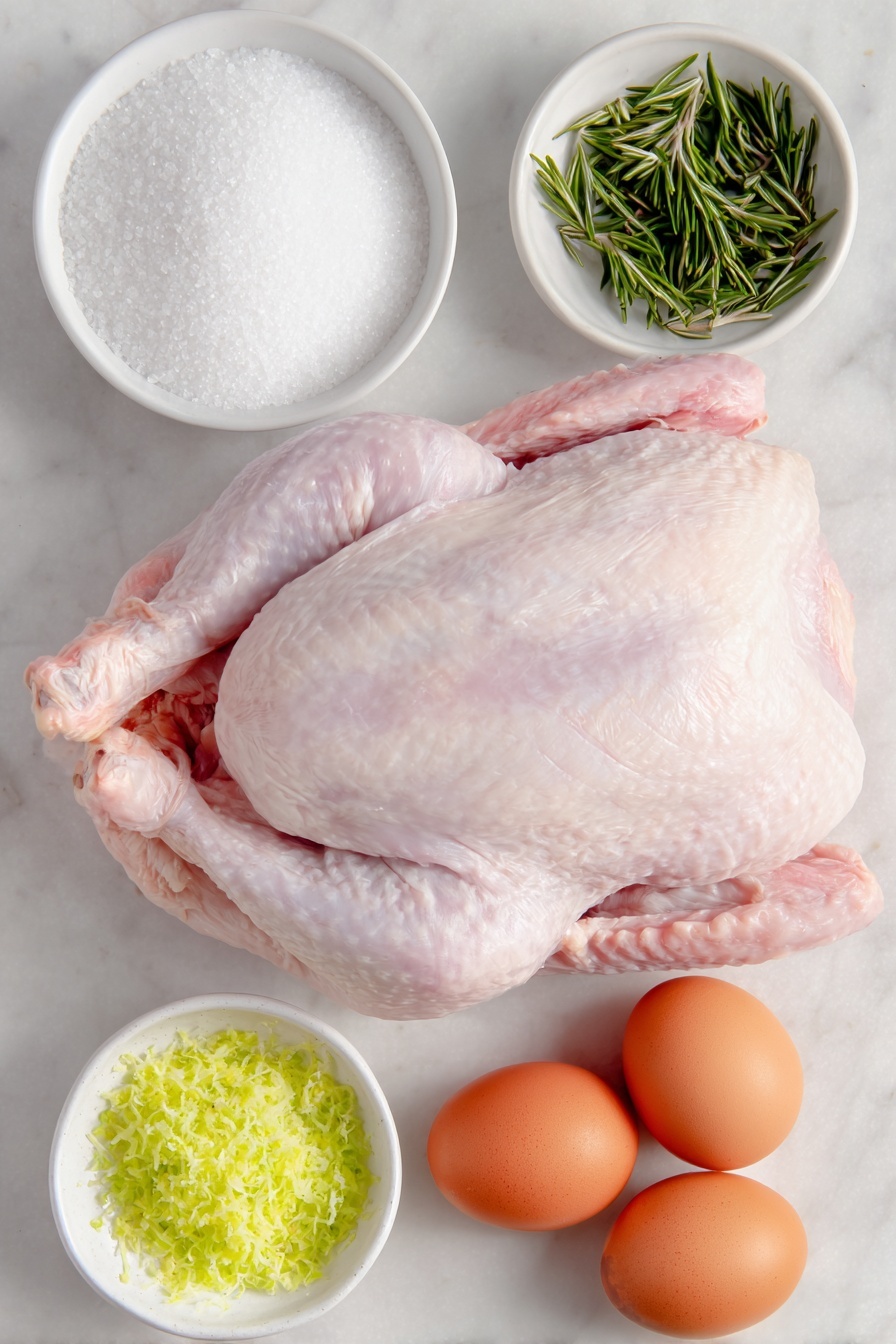
- Turkey: Choose a 14- to 16-pound bird for the ideal balance of meat and cooking time; make sure it’s fully thawed for even brining.
- Kosher salt: I use Morton’s kosher salt because it’s coarse enough to stick nicely and penetrate without oversalting.
- Fresh rosemary: Mince it finely to release its aroma and flavor into the brine.
- Lemon zest: Adds a light citrus brightness that complements the herbs beautifully; save the zested lemons for stuffing or garnish.
Variations
I love making this recipe my own depending on the season or what’s in my herb garden. You can easily swap out elements to suit your taste or dietary needs without losing that juicy magic.
- Herb Blend Variation: I once tried thyme and sage instead of rosemary, and my family couldn’t get enough—it adds an earthier aroma that’s perfect for fall.
- Citrus Swap: If you don’t have lemons, orange zest works surprisingly well, lending a subtle sweetness that pairs beautifully with poultry.
- Low-Sodium Option: Reduce the kosher salt slightly, but keep the brine time the same to maintain moisture without overpowering saltiness.
- Spiced Up: Add a sprinkle of black pepper or crushed red pepper flakes to the dry brine for a subtle kick I’ve come to enjoy on special occasions.
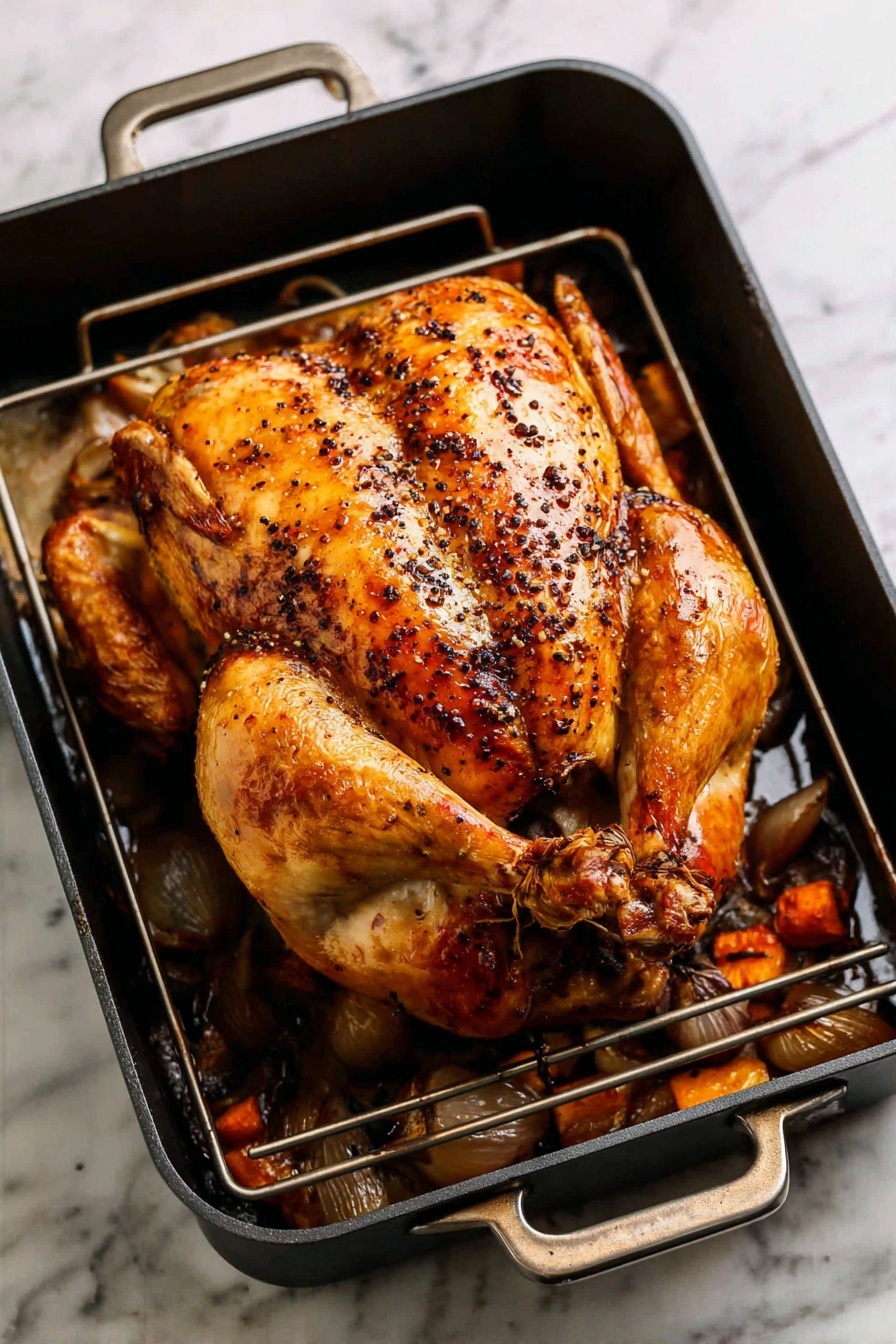
How to Make Perfectly Juicy Dry Brine Turkey Recipe
Step 1: Thaw Your Turkey Properly
I used to struggle with under-thawed turkeys that cooked unevenly. The best way to thaw is in your fridge for about 24 hours per 5 pounds of bird—for a 15-pound turkey, that’s roughly three days. If you’re short on time, cold water baths work, but you have to change the water every 30 minutes. Trust me, taking the time to thaw fully makes the brining and cooking steps so much easier and safer.
Step 2: Apply the Dry Brine
Mix the kosher salt, minced rosemary, and lemon zest together. Remove the neck and giblets, pat your turkey completely dry with paper towels (this is key—don’t rinse, which can spread bacteria). Then sprinkle one-third of the salt mixture inside the cavity and massage the rest all over the outside of the turkey, especially the breast and under wings and legs. This step really locks flavor inside as it works!
Step 3: Refrigerate and Dry Out the Skin
Cover the turkey loosely with plastic wrap and pop it in the fridge for 24 to 48 hours depending on how early you started. Then uncover it and let it chill uncovered for another 24 hours. This drying process is what creates that prized crispy skin. You’ll notice it takes on a slightly translucent look—that means you’re on the right track!
Step 4: Bring to Room Temperature Before Cooking
About an hour before cooking, take your turkey out of the fridge. Don’t remove the brine seasoning; it’s still working its magic. Letting it come to room temp ensures it cooks evenly. Also, if the plastic “carrier” on the legs is still there, peel that off now. Now you’re ready to roast, spatchcock, or smoke your beautifully brined bird!
Pro Tips for Making Perfectly Juicy Dry Brine Turkey Recipe
- Pat Dry Thoroughly: I learned early on that drying the turkey well before brining prevents a soggy skin later.
- Use a Rimmed Baking Sheet: It catches any drips and makes transferring to the fridge easy without mess.
- Don’t Rinse the Brine Off: Rinsing just washes away all the seasoning and invites bacteria; dry it well instead after brining.
- Timing is Everything: Start your brine early so you can give the skin enough time to dry out—rushed turkeys just don’t crisp the same.
How to Serve Perfectly Juicy Dry Brine Turkey Recipe
Garnishes
I love to garnish with fresh rosemary sprigs and lemon wedges—simple, elegant, and they echo the brine flavors. Sometimes I add a few fresh cranberries or thyme, which adds a festive touch and a pop of color that makes the turkey centerpiece really shine.
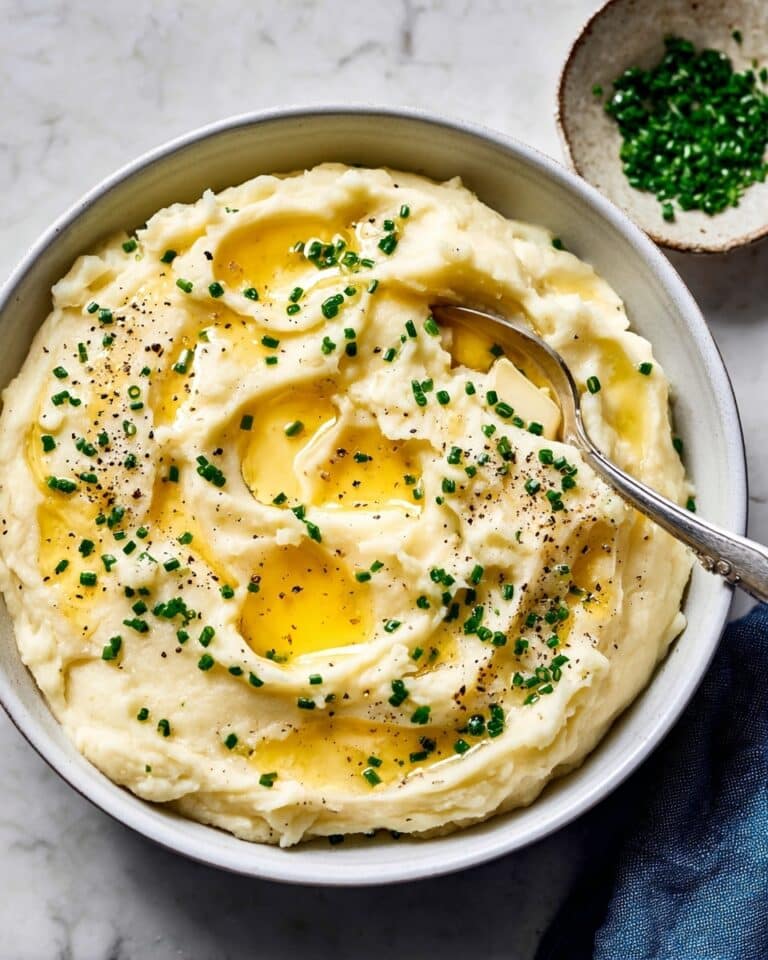
Side Dishes
My go-to sides with this turkey are classic mashed potatoes, roasted Brussels sprouts with garlic, and a tangy homemade cranberry sauce. I find these sides balance richness with brightness, pairing perfectly with the moist, flavorful turkey.
Creative Ways to Present
For a special occasion, I’ve carved the turkey onto a large wooden board surrounded by seasonal veggies, nuts, and fresh herbs for a rustic, inviting look. Another time, I stuffed the cavity with fresh herbs, lemon halves, and garlic cloves to infuse even more aroma at the table. It makes for a stunning presentation and smells incredible!
Make Ahead and Storage
Storing Leftovers
I slice leftover turkey thinly, store it in airtight containers, and refrigerate within two hours of cooking. This keeps it juicy and safe to eat for up to 4 days. I always save some in its own juices or broth to maintain moisture.
Freezing
If I’m freezing portions, I wrap the turkey tightly in foil and then plastic wrap, placing it in a freezer bag. It freezes well for up to 3 months, and when thawed, the turkey is still tasty and moist because of the dry brining.
Reheating
I gently reheat turkey slices covered in a little broth or gravy in the oven at low temperature (around 300°F) to prevent drying out. Microwave works in a pinch, but I always add moisture and cover tightly to keep it juicy.
FAQs
-
Can I use table salt instead of kosher salt for the dry brine?
It’s best to stick with kosher salt because it has larger flakes that distribute evenly and won’t make the turkey too salty. Table salt is finer and much saltier by volume, so using it can easily over-season your bird.
-
How long can I dry brine my turkey before cooking?
The dry brine time depends on the turkey’s weight, but generally 24 to 48 hours in the fridge is perfect. For larger birds, leaning toward the 48-hour mark helps ensure deep seasoning and optimal juiciness.
-
Do I need to rinse the turkey after dry brining?
Nope! Rinsing can actually spread bacteria around your sink area and wash away the flavorful brine. Just pat the turkey dry before cooking, and you’ll get a more concentrated flavor and better skin texture.
-
Will dry brining work on frozen turkeys?
Dry brining works best on fully thawed turkeys because the salt needs time to penetrate the meat. If you brine a frozen turkey, it won’t absorb the seasoning properly, and cooking times will be uneven.
-
Can I customize the herbs in the dry brine?
Absolutely! Rosemary and lemon zest are classics, but feel free to experiment with thyme, sage, or even a bit of garlic powder to personalize the flavor and make it your own.
Final Thoughts
This Perfectly Juicy Dry Brine Turkey Recipe has become my secret weapon for holiday meals and special dinners because it takes the guesswork out of juicy turkey. I hope you find it as reliable and satisfying as I do—my family goes crazy for it every time! Give yourself plenty of time, trust the process, and enjoy the confidence that comes with knowing your turkey will be a star on the table.
Print
Perfectly Juicy Dry Brine Turkey Recipe
- Prep Time: 20 minutes
- Cook Time: 240 minutes
- Total Time: 72 hours (4320 minutes) including thawing and brining
- Yield: 10 to 12 servings (1 14-pound turkey)
- Category: Main Dish
- Method: Roasting
- Cuisine: American
Description
This Dry Brine Turkey recipe ensures a juicy, flavorful bird with crispy skin by using a simple mixture of kosher salt, fresh rosemary, and lemon zest. The dry brining process, which involves salting the turkey well in advance and allowing the skin to dry in the refrigerator, enhances moisture retention and adds a delicious herbaceous citrus note. Perfect for holiday meals, this method is straightforward and reliable, resulting in a tender turkey without the fuss of a wet brine.
Ingredients
Turkey
- 1 14- to 16-pound turkey (thawed as needed)
Dry Brine
- 3 tablespoons kosher salt (Morton’s recommended)
- 1 ½ tablespoons minced fresh rosemary
- Zest of 2 small or 1 large lemon (reserve lemons for stuffing if desired)
Instructions
- Thaw Your Turkey: Four to six days before cooking, thaw your turkey by placing it in the refrigerator for approximately 24 hours per 5 pounds (about 3 days for a 15-pound bird). For faster thawing, submerge it in a cold water bath, changing the water every 30 minutes; this method generally takes about 8 hours for a 15-pound turkey.
- Apply the Dry Brine: One to two days before cooking, mix the kosher salt, minced rosemary, and lemon zest in a bowl. Remove the neck and giblets from the turkey and discard or reserve for gravy. Using paper towels, pat the turkey very dry (do not rinse to avoid bacterial spread). Place the turkey on a rimmed baking sheet or shallow pan. Sprinkle 1 tablespoon of the salt mixture inside the cavity, then rub the remaining mixture all over the turkey’s outside, focusing on the breasts, underside of wings, and legs—no need to salt the backside in contact with the pan. Cover tightly with plastic wrap and refrigerate for 24 to 48 hours.
- Dry the Skin: One day before or the morning of cooking, remove the plastic wrap and refrigerate the uncovered turkey for 24 hours or until 1 hour before cooking. This drying step is crucial for achieving crispy skin and will cause the skin to become somewhat translucent.
- Bring to Room Temperature: One hour before cooking, take the turkey out of the refrigerator and let it sit at room temperature. Remove any plastic leg carriers if still attached. Do not wipe off the brine. Proceed to cook by your preferred method, such as roasting, spatchcocking, or smoking.
Notes
- Dry brining is the easiest way to ensure a juicy, moist turkey that does not dry out during cooking.
- Only rosemary, lemon zest, and kosher salt are needed for the dry brine.
- Do not rinse the turkey after dry brining to prevent spreading bacteria.
- Drying the skin uncovered in the fridge helps it crisp beautifully when cooked.
- Adjust brining time based on turkey weight for best results.
- This method keeps preparation simple and enhances natural flavors elegantly.
Nutrition
- Serving Size: 1 serving (approx. 1/10 of a 14-pound turkey)
- Calories: 636 kcal
- Sugar: 0.3 g
- Sodium: 1150 mg
- Fat: 25 g
- Saturated Fat: 7 g
- Unsaturated Fat: 15 g
- Trans Fat: 0.3 g
- Carbohydrates: 0.2 g
- Fiber: 0.1 g
- Protein: 98 g
- Cholesterol: 325 mg


